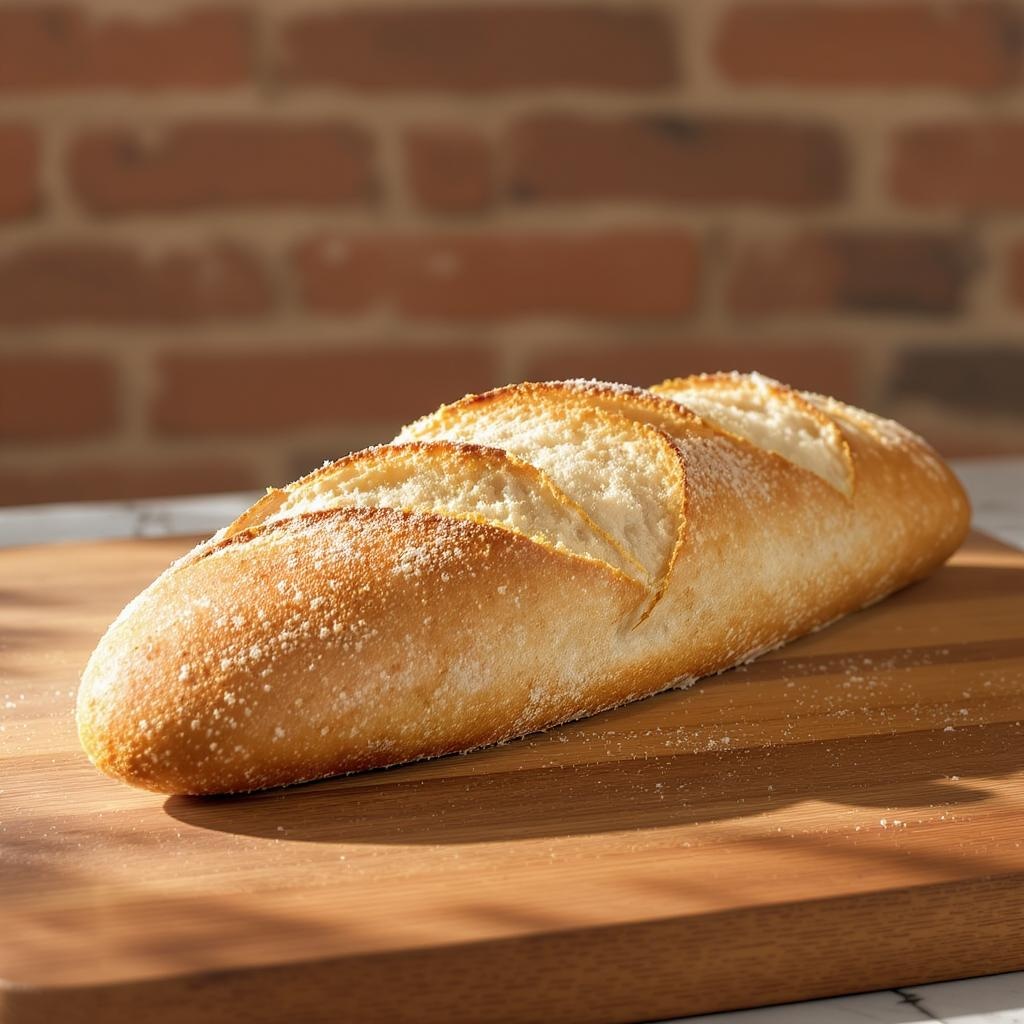
When I pull a fresh loaf of baguette from the oven I feel kind of proud and I get that rush of fragrance that fills the kitchen then dances around the living room. I start thinking of how heat changed that dough into crisp golden shell with a soft chewy crumb inside. I turn my mind to Maillard browning and caramelization as I peer at the crust. It is all about how proteins and sugars meet intense heat yet give you that complex toasted aroma that just makes you hungry before you even slice it.
To me a good baguette is never rushed. I get why folks talk about low and slow for big cuts of meat but here I lean into a different sort of patience. I watch the protein rest after the bake so the crumb stays moist and the flavor finishes developing. Crisp edges feel like little flavor bombs that remind me how science lurks behind even simple bread. Every time I score the top I am thinking of how those cuts let steam escape just right.
It may sound like I lost my mind over a humble baguette but there is more going on than just dough and heat. That golden crust holds stories of lectures by French bakers and nights spent studying ovens that vary in how they roast that exterior. I measure the oven temp and note how a slight drop or rise changes crispness. I chart those results in my messy notebook with quick sketches that help me recall the perfect bake.

Nudges from my neighbor remind me to remember each moment of the bake. I scribble tips about steam in the oven and watch how it affects caramelization on crust. I notice how the air in my kitchen changes humidity and how that tweaks the bake time too. A fresh baguette feels like a prize but it really is a lesson in culinary science at work in your own home.
The Heat Science in Crispy Crust
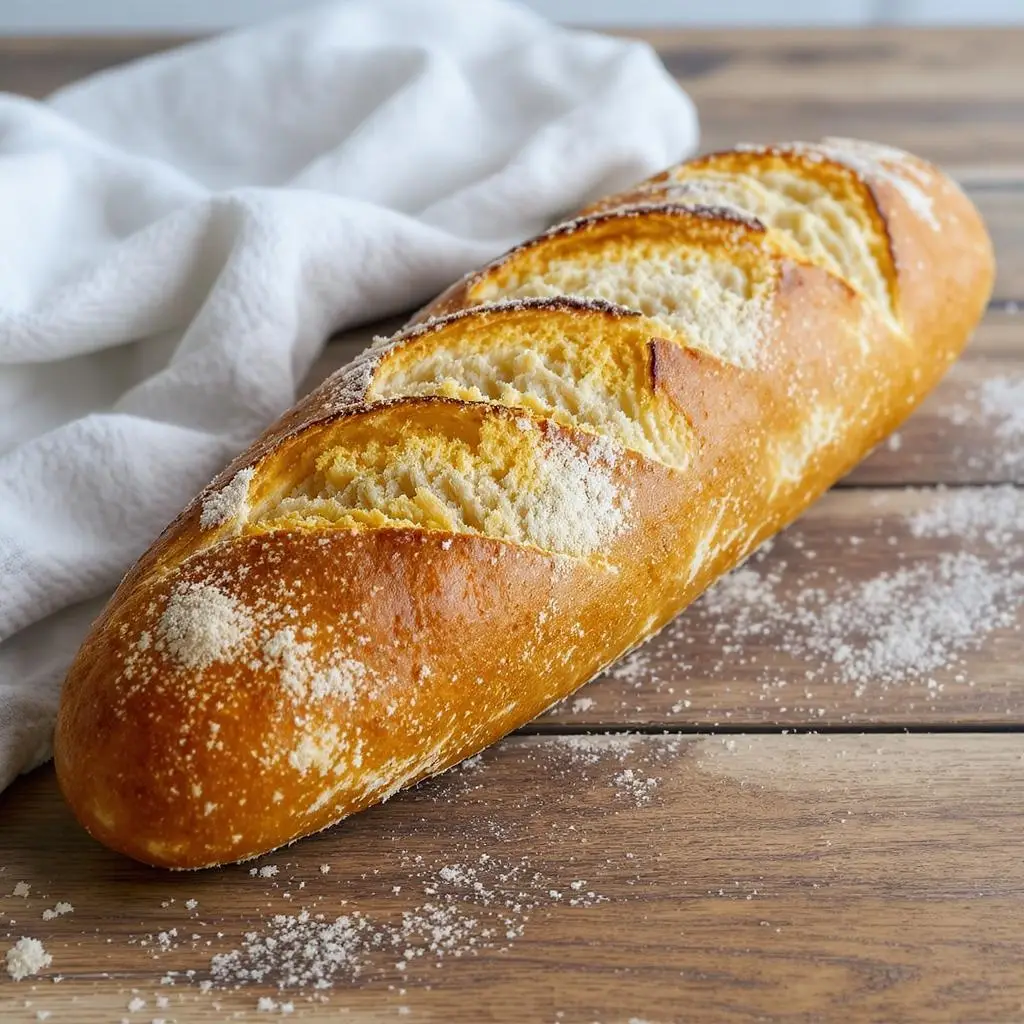
I get obsessed about heat and how it shapes flavor each time I bake a baguette. I consider the difference between direct heat and trapped steam. The steam gives that shiny blisters on crust that hint at chewy texture inside. When steam meets dough that outer layer gelatinizes and then Maillard browning kicks in to make those toasty brown spots. The aroma is intense and I swear my neighbors can smell it down the block.
The math of temperature and time feels wild but I try to keep it simple. Around four hundred fifty degrees Fahrenheit feels right. I set my oven to low and slow at first so the dough puffs up then I crank heat for the final twenty minutes. That two stage bake helps avoid a pale crust or a doughy center. It is a balance of cooking science and good old fashioned feel for timing.
Even if you start with day old baguette you can refresh it with heat. I score the loaf, spritz water on it then pop it back in a hot oven. I watch that steam swirl then evaporate and I know caramelization is right around the corner. That crispy ridge you feel when you snap off a piece is pure sensory reward from well managed heat.
Pantry Roll Call
Here is the list of things I keep handy so each bake feels a little easier and tastes great.
- All purpose flour this forms the backbone for the dough and gives you that classic crumb structure
- Instant yeast I like the ease of quick action while I focus on timing and temperature
- Salt a small pinch brings out the flavor in the dough just like it does for veggies or soup in a slow simmer
- Water lukewarm for mixing then cold for shaping the dough so it is easier to handle
- Cornmeal to dust the peel or tray so the dough slides right off without sticking
- Sharp knife or lame for clean intentional cuts that guide steam vents and produce nice ear shapes
- Baking stone or steel to distribute heat evenly so the bottom crust gets crisp without burning
- Misting bottle for quick sprays of water that help with caramelization and blistered crust
With these on hand and a loaf of baguette on standby I am always ready to bake. No fancy gadgets just good simple tools with a dash of culinary science know how.
Prep Zone Setup
I clear a big section of countertop so I can mix and knead without feeling cramped. Flour a part of that area but keep another spot clear for weighing and resting. I use a kitchen scale more times than measuring cups because it is just faster and way more accurate. I eyeball water temp to around ninety five degrees to let yeast come alive but not die off.
Next I lay out a clean towel for proofing the dough. I dust that towel lightly with flour or semolina. That keeps the rising dough from sticking yet gives a gentle grip as it puffs up. I set up a bowl of warm water nearby if I want to rinse tools or mist the crust later on. I grab my brush for egg wash though most days I skip that and rely on steam for shine.
Kitchens Alive with Scent
When that baguette hits mid bake your kitchen fills with rich smells of toasted grain mixed with a hint of sweetness. I always pause and inhale deeply. It reminds me of a bakery on a Sunday morning that I once visited. The air felt heavy with yeast and warmth and I wanted to bottle that scent.
At this moment I picture the Maillard browning at work turning simple dough into a feast for my nose. The caramelization at the edges smells almost floral yet earthy at the same time. I know the final loaf will taste just as complex as it smells now.
Mid Bake Checkpoint
About ten minutes before I planned I crack open the oven door just enough to peek. I watch the crust color deepen and I listen for any odd pops or gurgles that might hint at steam build up. I count seconds then close the door. I do not want to lose too much heat but a quick look helps me tweak timing.
If the crust seems too pale I give a quick spritz of water to boost caramelization. It can be tricky to match the exact oven humidity but practice helps. Over many bakes I learned that just a shot of steam at the right moment yields a crust that snaps with each tear. That is the result of low and slow moisture management meeting high heat finish.
Using a Probe to Pinpoint Crust
I slide my probe thermometer gently into the thickest part of the loaf without dashing heat out of the oven. I look for internal readings around one hundred ninety five degrees. That tells me the inside crumb is set yet moist and the crust is as crisp as I like. If it reads lower I give it five to ten more minutes.
Sometimes that means I drop the loaf from the baking stone to a cooler rack then rotate it away from hot spots. Ovens often have those areas that run hotter. By nudging the baguette around I can coax more even Maillard browning. It takes a few tests but then I know where to aim for peak results.
Styling Your Baguette on the Plate
When the loaf has rested I brace it on a wooden board then slice at a slight angle with a serrated knife. The first slice gives you that peek at the interior crumb. I arrange slices in a basket or lay them fanned out on a platter. I love to tuck herbs or garlic butter between some slices for a gallery style look.
For a casual snack I pile baguette chunks next to bowls of dip or cheese or even a comforting cheesy white bean tomato bake. The golden crust contrasts with creamy textures. Visual flair is as satisfying as the crunch when you bite in. It pays off to make it look inviting just like it smells.
Leftover Hack for Extra Mile
If you ever have a day old baguette you can bring it back to life. I chop it into cubes then toss with olive oil salt pepper and a pinch of garlic powder. I spread them on a tray and bake at three hundred fifty degrees for about twelve minutes until they turn crunchy. Now you have perfect croutons for salad or a hearty beef and vegetable soup.
An alternate trick is to split the loaf lengthwise then butter it and add cheese herbs or garlic. I bake that at three seventy five degrees for ten minutes then broil just long enough to brown the top. It becomes a quick cheesy toast that feels fancy but is simple and old school.
For a sweeter twist, you can transform slices into Haitian French toast.
Key Takeaways and Common Questions
Here are a few quick reminders so each bake ends in flaky crust and soft crumb.
- Use Steam Early mist or spray water in early bake to aid caramelization
- Watch Your Temps aim for steady high heat at finish after a low and slow ramp up
- Prioritize Protein Rest let the loaf cool before slicing this keeps crumb from turning gummy
- Try Old Baguette Hacks repurpose day old loaf into croutons or cheesy toast easily
Q1 Which oven racks give best results the lower third of your oven sets the stone closer to heat and helps crisp the bottom crust. middle racks can stay too cool for good Maillard browning
Q2 Can I freeze dough ahead of bake yup you can freeze shaped baguette for up to two weeks. thaw in fridge overnight then let come to room temp before baking
Q3 Why does crust go soft after a few hours moisture from crumb migrates to crust. to keep it crisp store in a paper bag and not airtight as that traps steam against crust
With these tips I hope you feel fired up to bake your own baguette and notice how gentle science and heat shape every bite. Go forth and bake with confidence and a dash of curiosity about what happens inside that hot oven.
Baguette
Ingredients
Equipment
Method
- In a large bowl, combine bread flour, instant yeast, and salt. Add lukewarm water, mixing with a wooden spoon or by hand until a shaggy dough forms.
- Knead the dough on a lightly floured surface for about 10 minutes, until smooth and elastic. Alternatively, use a stand mixer with a dough hook.
- Return the dough to the bowl, cover with a kitchen towel, and let it rise in a warm place for 1.5 hours, or until doubled in size.
- Punch down the dough and divide into 3 equal pieces. Shape each piece into a rough rectangle, then roll it up into a log about 14 inches long. Pinch the seams to seal.
- Place shaped dough onto a parchment-lined baking sheet. If using a baguette pan, place dough in the grooves. Cover with a kitchen towel and let rise for another 45-60 minutes.
- Preheat your oven to 230°C (450°F) about 30 minutes before baking. Place a pan of hot water at the bottom of the oven for steam, or prepare a spray bottle with water.
- Right before baking, slash the tops of each loaf 3-4 times at a sharp angle with a bread lame or sharp knife.
- Bake baguettes for 20-25 minutes, spraying water into the oven in the first 5 minutes to create steam, until golden and crisp.
- Cool the baguettes on a wire rack for at least 20 minutes before slicing.
- For extra flavor and crust, let the shaped loaves rise in the fridge overnight, then bake straight from cold.
- Baguettes are best enjoyed the day they're baked, but leftovers are great for crostini or breadcrumbs.