Getting Fired Up with grilled chicken breast Basics
I live right next door to the best grill you ever saw. I get that familiar rush when I grab a pair of tongs and lay down a thick grilled chicken breast right on the bars. It meets that hot metal with a hiss and I know the work is just starting. My neighbor always laughs at how obsessed I am with heat I swear I can tell you the temperature of coals just by sniffing the air.
This recipe is all about dialing in perfect sear and loading up flavor. I talk about marinade tricks and a lot about Maillard browning because that golden crust is what you crave when you think of juicy grilled chicken breast straight from the backyard grill. I might trip over a word or leave out a tiny detail but you will still nail that tender white meat again and again without any fuss.
Why Heat Shapes Flavor
When you heat chicken on the grill you start a science show right in front of you. The sugars and proteins meet and create Maillard browning that gives you that mouth watering crust. Instead of just thinking of plain meat you get caramelization on the surface that brings in nutty hints and that deep brown color you dream of when you want grilled chicken breast hot off the bars.
It is not just about setting the flame to high either you can dial heat down to medium and use low and slow techniques so the meat cooks all the way without burning the edges. That low and slow approach keeps the inside moist while you still get a little char on the outside. Im telling you wait for that perfect moment when the sizzle is less fierce and then pull for a juicy bite.
One more cool trick is to finish thick pieces over a spot with no coals so you mimic a slow simmer you do on the stove but over fire. That makes sure the thick center of the grilled chicken breast cooks without the crust going black. Then you get my ideal combo of crisp crust and warm tender center.
Your Go To grilled chicken breast Pantry
Before you fire up that grill let us gather what we need. I keep these basics at arm reach when I plan my simple grilled chicken breast cookout. Most of this you find in any kitchen if you poke around in your cabinet or fridge.
- Boneless skinless chicken breasts fresh and preferably of even thickness so you get uniform cooking across each piece
- Olive oil enough to coat each breast and carry any spices to the meat surface
- Kosher salt coarse crystals that stick to the oil and draw out extra juiciness
- Fresh cracked pepper the rough edges give you little bursts of spicy heat in every bite
- Garlic powder a quick sprinkle will stick and seep into the pores
- Smoked paprika adds color and hints of that charcoal and campfire vibe
- Dried oregano a little green herb edge that pairs nicely with that chicken flavor
- Fresh lemon optional but the juice at the end brightens every forkful of my grilled chicken breast
Those simple pantry staples play off each other so you get balanced flavor. You can add chili flakes if you want a kick or swap oregano for thyme if thats your thing. But never skip salt and oil if you care about crisp caramelization and that sweet char.
Setting Up for Successful Grilling
First thing first you want your chicken prepped. I rinse mine under cold water then pat it dry with a paper towel. Dry surface means sweeter sear not steam and soggy crust. Then I trim off any bits of fat or loose skin even though I use skinless breasts so nothing hangs and burns.
Next I toss each grilled chicken breast into a ziplock style bag with a drizzle of olive oil and my spice mix. I massage it kind of sloppy but thorough so every inch is coated. Then I let them rest in the fridge for at least twenty minutes or up to two hours if I got time. This protein rest period lets the seasoning really sink in so each bite is seasoned all the way through.
When its go time I light my grill and aim for a medium high zone for searing and a medium zone for finishing. I want that high heat zone to get instant Maillard browning and a second zone where I can move the chicken for low and slow cooking so it does not char too much before the center is done.
When the Grill Starts to Sing
That moment you lay down the first piece you hear that high pitched sizzle is like a promise. I stand there breathing in that smoke and spice aroma swirling up. You smell hints of garlic powder meeting hot metal and the little whiffs of olive oil crisping off around the edges.
With my hand hovering above the bars I feel the heat wave and know I nailed the temperature. You can kind of glimpse where grill is hotter or cooler just by the sound. I move the piece around until the sizzle calms to a moderate hiss then I leave it alone so the crust can lock in moisture. That aroma tells me Im on track to perfect my grilled chicken breast without ever lifting the lid.
Halfway Heat Check
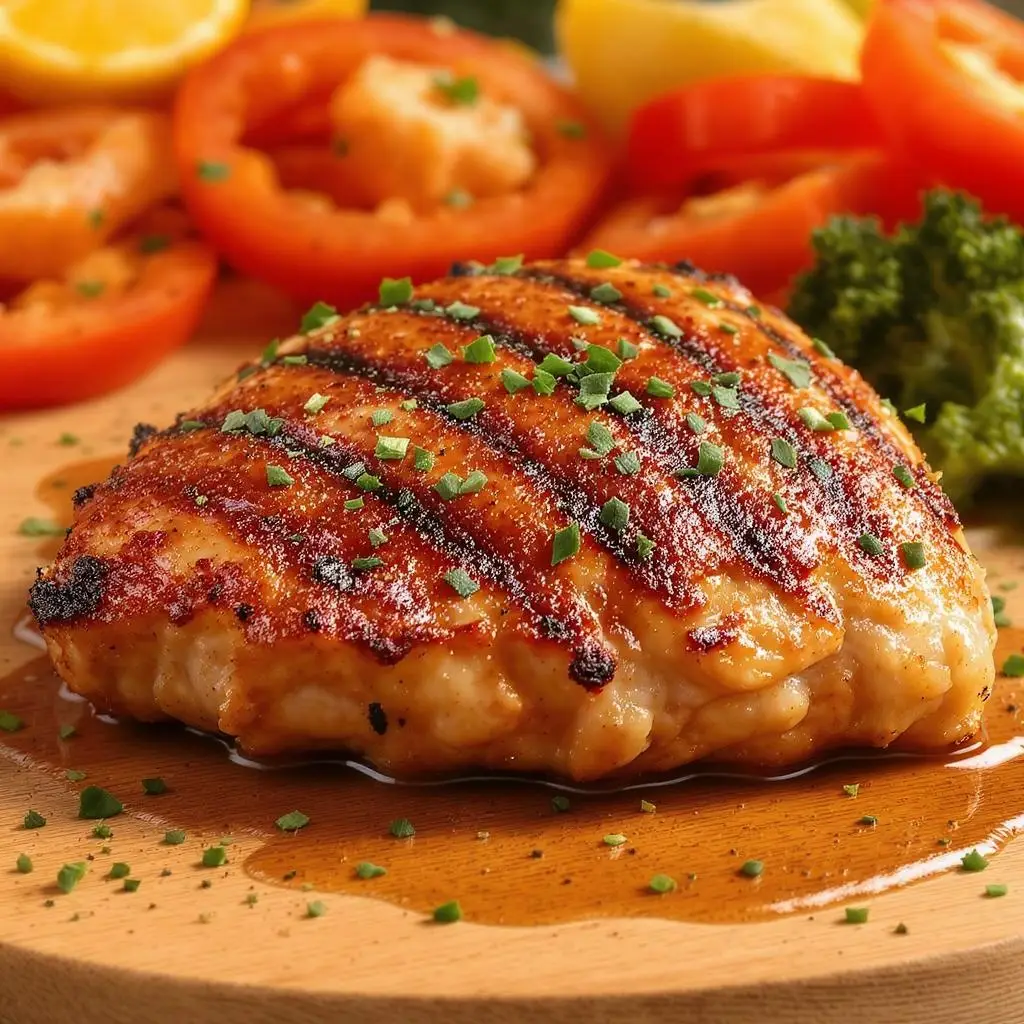
After four minutes or so I peek under and see deep golden brown patches form. Thats where caramelization kicked in and gave me that sweet crust. If it looks too dark I shift it to the cool zone for a bit if not I flip it quick. Dont keep poking or pressing or youll squeeze out juices and dry it out.
Im watching the fire and flames to avoid flare ups. If you see a flare up just move that piece to a cooler spot low and slow style until the flame dies down. That way you still cook the center without charring the edges beyond taste. This is the time I check both spots too the hot side for sear and the cool side for slow cook.
Temp Trails and Texture Tips
I always use a probe thermometer to check the thickest part. You want about one hundred sixty five degrees F so each grilled chicken breast is safe but still juicy. Slide the probe in but dont let it touch the grill or youll get a false high read. Wait until it stops ticking then pull the piece out.
Once each piece hits temp I rest them on a little rack for at least five minutes. That protein rest stage is crucial if you fancy juicy meat. It gives the juices a chance to redistribute instead of spilling out the second you cut in. This bit of patience transforms dry cubes into tender slices that shine when you serve.
Making It Look Irresistible
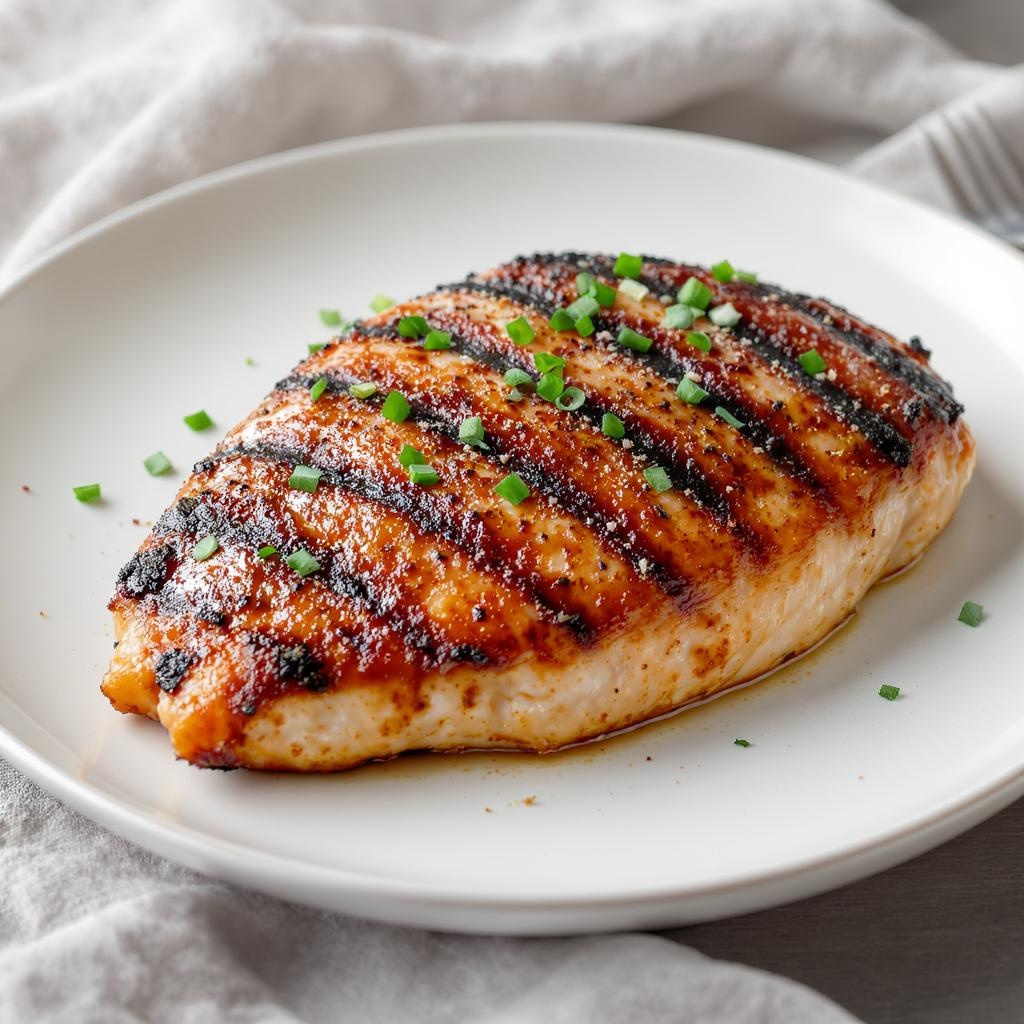
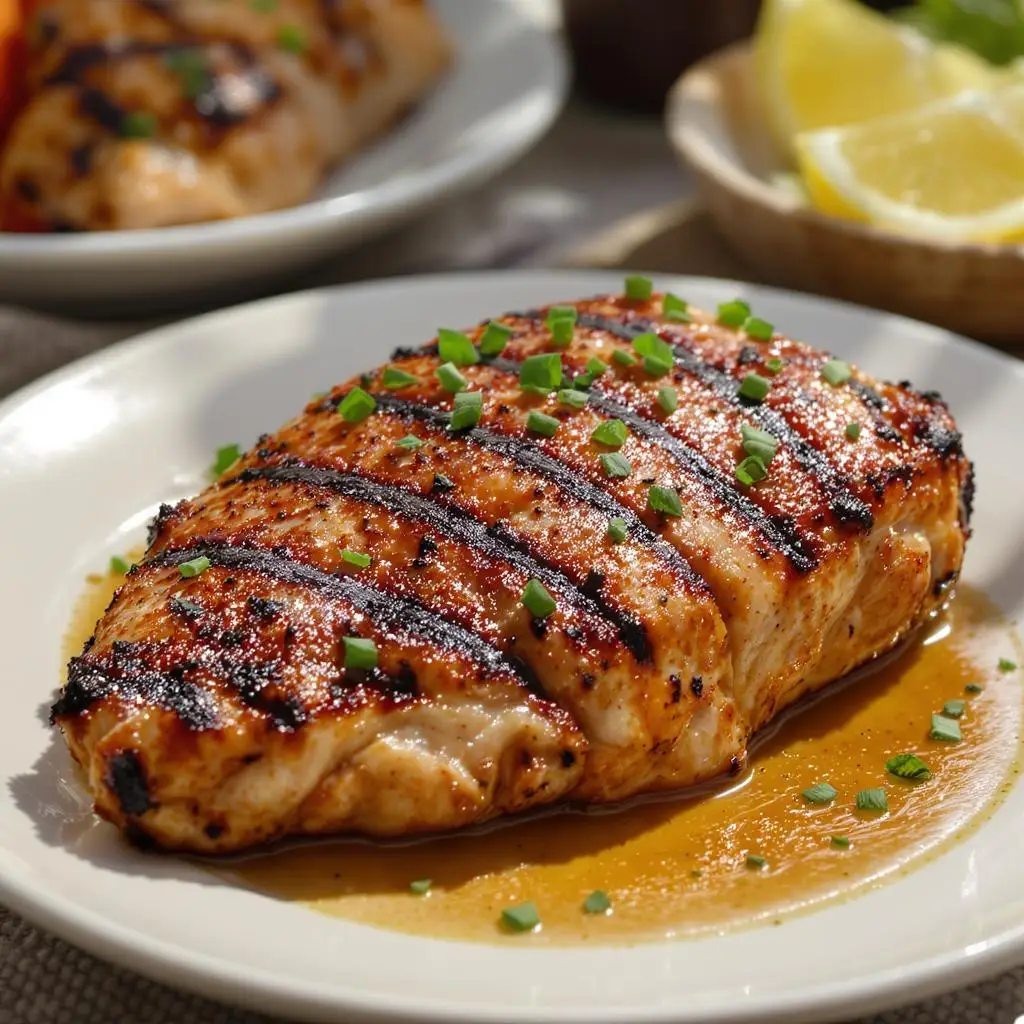
When Im ready to serve I slice each grilled chicken breast on a slight angle across the grain so each piece looks juicy and tender. Angle cuts help make the meat look bigger and give more crust surface per bite. I fan them out on the plate and spoon any resting juices on top. Serve alongside cheesy green beans for a tasty side.
I like to add a sprig of fresh herbs and a few lemon wedges. That pop of green and yellow makes it look restaurant fancy. If I am showing off I drizzle a little extra virgin olive oil around the edge then sprinkle a pinch of coarse salt for that final crisp glint before I hand it off to my hungry family.
Next Day grilled chicken breast Reinventions
Got leftovers from last night Is there anything better than reheating grilled chicken breast in a pan with a dash of oil over medium heat You get a second round of Maillard browning and a few crispy parts that taste even better cold. Shred a piece into salads or slice thin for sandwiches with lettuce tomato and a smear of mayo or yogurt.
You can toss chunks into a slow simmer soup with chicken stock carrots celery and rice The heat coax out more flavor and you end up with quick filling broth.
If you are feeling a bit lazy pile slices onto a toasted bun with barbecue sauce and slaw (perfect for chicken sliders) and you still get the grilled chicken breast taste without another grill session.
grilled chicken breast Takeaways and Quick Questions
Let us hit the main points so you dont forget them when you fire up that grill again. Keep your meat dry before you season and use oil and salt for crisp caramelization. Let spices soak in with a proper protein rest in the fridge. Then manage your heat zones between high heat for sear and low and slow spots for finish. Dont forget that probe thermometer and another rest before slicing.
Q What if my grilled chicken breast is charred on outside but raw inside
Lower the direct heat next time move to a cooler zone after sear and use the medium side for slow cook until it reaches safe temp.
Q How do I prevent flare ups on the grill
Trim excess fat and dont press chicken while it cooks. Keep a spray bottle of water nearby for small flare ups and move meat away until flames calm.
Q Can I use bone in pieces instead of breast
Sure but adjust cook time. Bone in needs a bit more slow finish time so the innermost meat cooks without burning the crackling skin.
Q Why is my chicken dry when I cut it
You likely skipped the protein rest or overcooked it. Aim for six degrees below final temp then rest covered for five minutes. That yields juicy meat every time.
If you follow these simple tricks youll nail that grilled chicken breast cookout over and over. Sear for Maillard browning and caramelization on high heat then move for low and slow finish. Let it rest twice and slice with care. Grill on and enjoy all that juicy backyard flavor.
Grilled Chicken Breast
Ingredients
Equipment
Method
- Preheat your grill or grill pan to medium-high heat.
- Pat chicken breasts dry with paper towels. If the breasts are uneven in thickness, lightly pound them to an even thickness using a meat mallet or rolling pin.
- In a mixing bowl, combine olive oil, salt, black pepper, garlic powder, paprika, oregano, thyme, and lemon juice.
- Add the chicken breasts to the bowl and rub the seasoning mixture all over each piece. Let marinate for at least 5 minutes (or cover with plastic wrap and refrigerate for up to 2 hours for deeper flavor).
- Place the chicken breasts on the preheated grill. Grill for about 6-7 minutes per side, turning once, until grill marks appear and the internal temperature reaches 74°C (165°F).
- Remove the chicken from the grill, cover loosely with foil, and let rest for 5 minutes before slicing and serving.
- For extra tenderness, marinate the chicken for up to 2 hours before grilling.
- Serve with a fresh salad, grilled vegetables, or rice for a balanced meal.