I gotta tell you about my trials with Breakfast Muffins and how heat and flavor team up in the kitchen. I was chatting with my neighbor who is totally obsessed with heat and how it shapes flavor and we ended up baking Breakfast Muffins at dawn. We kinda fumbled with our gear and our pans and it felt like a messy kitchen party full of Breakfast Muffins and laughter.
It took a couple tries to nail the texture and taste of Breakfast Muffins while thinking about how every bit of heat brings out flavors. My neighbor kept yammering about Maillard browning and caramelization and I just nodded trying not to burn the batch of Breakfast Muffins. In the end we got a batch that tasted warm golden and just right.
How Heat Shapes Our Breakfast Muffins
I still remember how that hot oven turned our dough into fluffy Breakfast Muffins and made our kitchen smell so good. Heat shifts stuff around in the batter and helps proteins rest and set without going rubbery and helps Breakfast Muffins hold their shape. It was wild to see how a little more blast of high heat in the beginning made that brown top pop off on our Breakfast Muffins.
The neighbor told me that letting the batter sit before baking gives protein rest time and lets ingredients settle, so when we broke the muffins open it was soft and not gummy. That trick made every bite of Breakfast Muffins super tender. We also noticed low and slow in the final phase made those crumb edges get extra nice.
Pantry Lineup for Perfect Breakfast Muffins
- All purpose flour, plain base to build structure
- Granulated sugar, adds touch of sweet
- Baking powder, helps rise in our Breakfast Muffins
- Salt, boosts all the little flavors
- Eggs, binder that makes Breakfast Muffins soft
- Milk, gives moisture and keeps Breakfast Muffins tender
- Butter, melted to help with Maillard browning on tops
- Add ins, like berries nuts or cheese for a twist in Breakfast Muffins
Once we had these items ready we saw how each one plays a role in our Breakfast Muffins. You cannot skip baking powder or you end up with flat dense muffins. And without a pinch of salt your Breakfast Muffins are kinda bland and boring. It is real simple to grab these staples and call it a recipe.
Getting Your Station Ready
Before we even flicked on the oven we scaffolded our tools and bowls to roll through steps without panic. I dumped the flour and sugar in one bowl and the wet parts in another so mixing for Breakfast Muffins went quick and easy. My neighbor kept saying slow simmer is ok in the pan but not here in the mixing bowls.
Then we set the oven rack right in the middle and preheated to about two hundred degrees Celsius which is hot enough to kick off Maillard browning on our Breakfast Muffins. We also greased the muffin tin and lined the cups so nothing stuck. This little setup meant we could just slide trays in and count minutes instead of running around hunting for spoons or liners.
Catching That First Whiff
When the timer hit ten minutes the whole kitchen got hit with nutty buttery aroma that made us drool as we waited for our Breakfast Muffins. It smelled like warm dough and toasted edges and it had us peeking through the oven window every few seconds. At that moment we knew caramelization was kicking in.
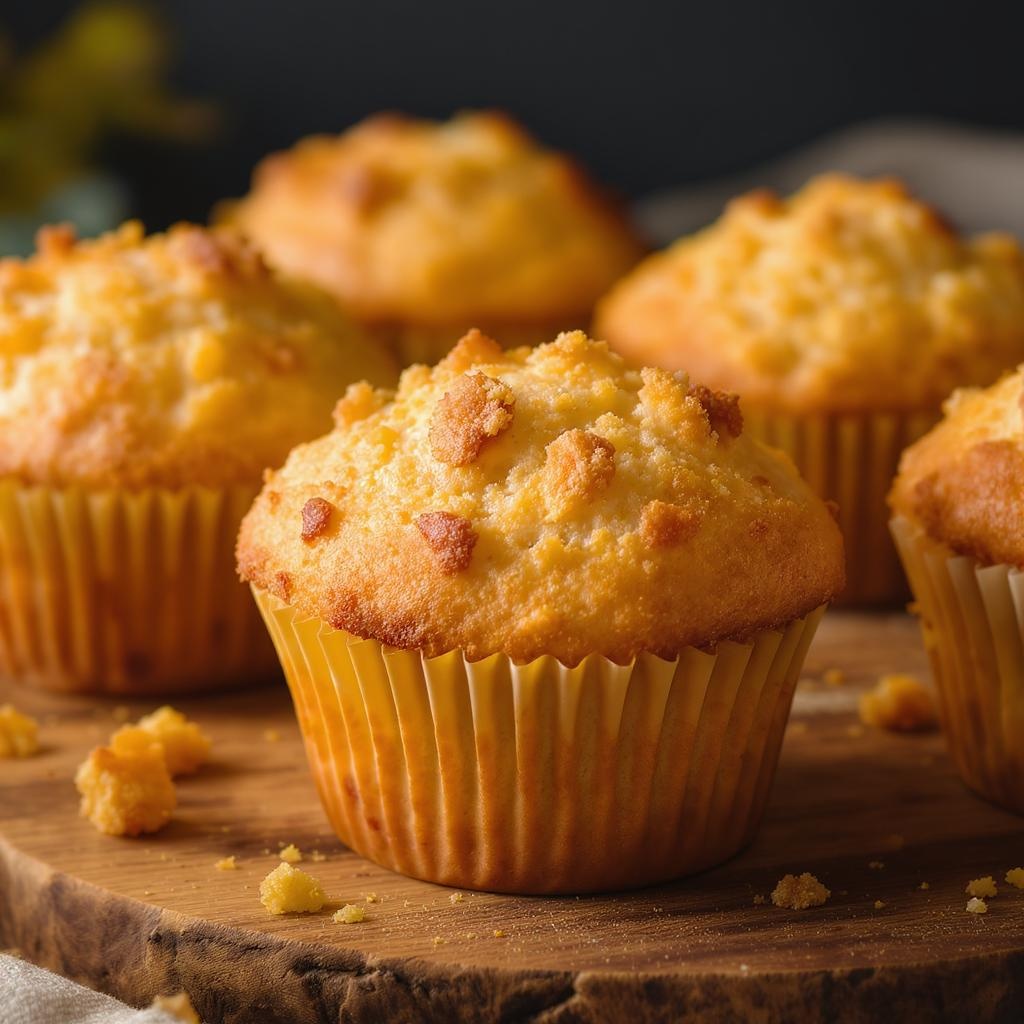
Then the smell changed again near the fifteen minute mark when the tops turned golden. That smell told us the outside crust was crisping up as the inside stayed soft in these Breakfast Muffins.
Checking In Mid Bake
Right at the twenty minute point we cracked open the oven and tapped the top of a muffin to feel the springiness of our Breakfast Muffins. If it springs back we are close. If it still seems boggy we let it bake a bit more. My neighbor said low and slow works wonders but ten minutes at high heat first then finishing lower is what we did for these Breakfast Muffins.
We also rotated the pan front to back to get even color. No one wants one side burnt and one side pale in their Breakfast Muffins. After thirty minutes we felt ready to test again and saw that golden top that screams done for these Breakfast Muffins.
Using a Probe to Nail Doneness
I shoved a toothpick into the center of a muffin to see if it came out clean from our Breakfast Muffins. If i saw wet crumbs then back to the oven they go. If the probe is dry then those Breakfast Muffins are ready. That little test is the same idea as protein rest in big roast but scaled down. It gives me confidence to pull them out without risking a gummy center in our Breakfast Muffins.
Sometimes i poke a second time near the side to double check because ovens can have hot spots and we want each Breakfast Muffins perfect through and through.
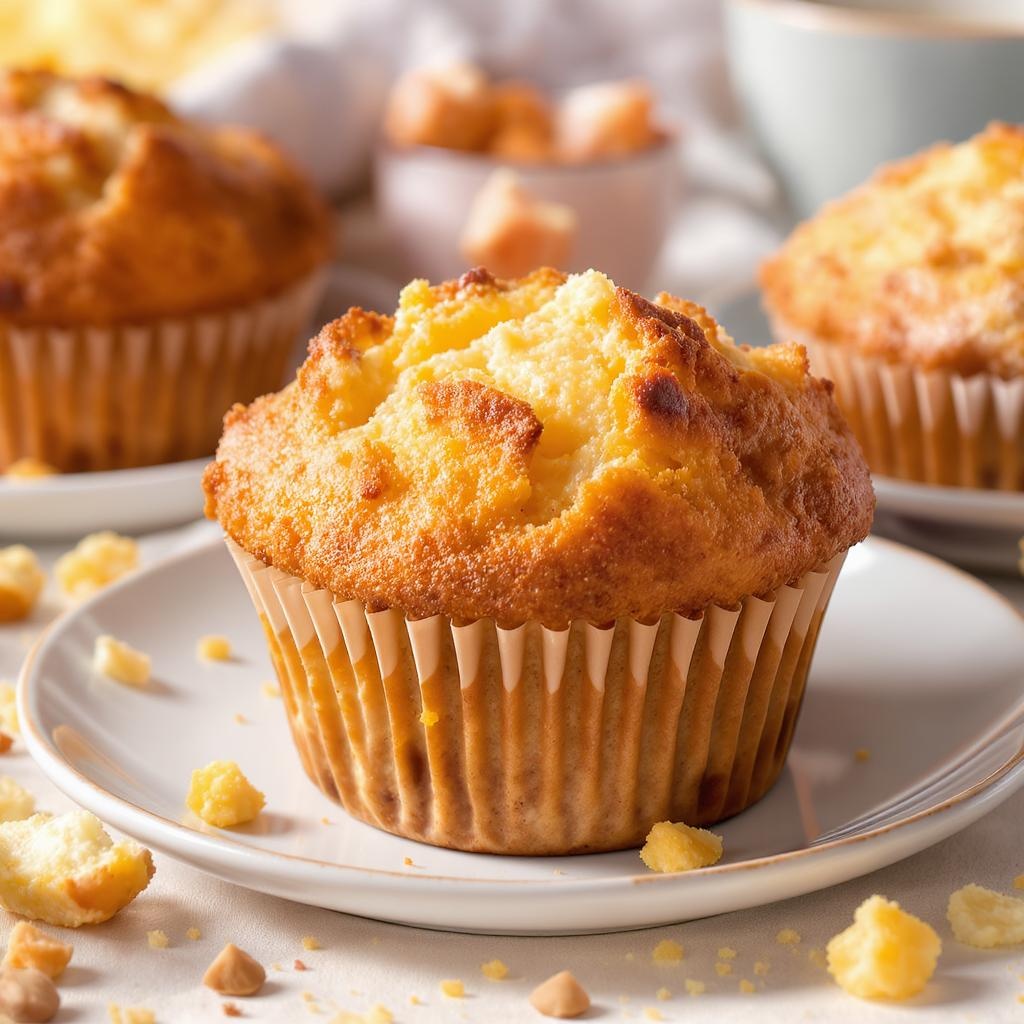
Serving Up Your Muffins
Once they cool i slide each Breakfast Muffins onto a platter and maybe dust some powdered sugar or spread some butter on top. It adds a nice touch and makes them look way fancier. A little jam or honey drizzle over these Breakfast Muffins gives them a pop of color and flavor. I try not to over fancy them so the focus is on that perfect crumb in our Breakfast Muffins.
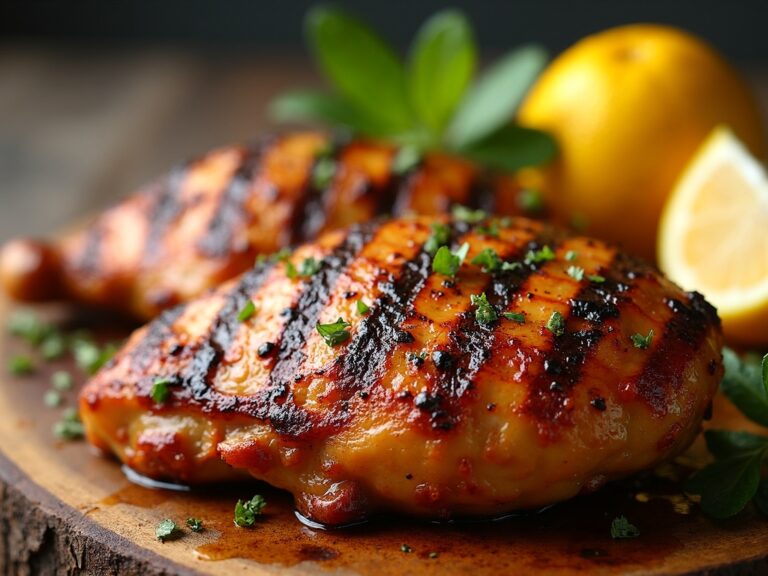
You can also cut them in half and add some eggs bacon or greens in between for a sandwich version of these Breakfast Muffins. It is kinda wild how versatile these Breakfast Muffins can be.
Leftover Trick for Next Day
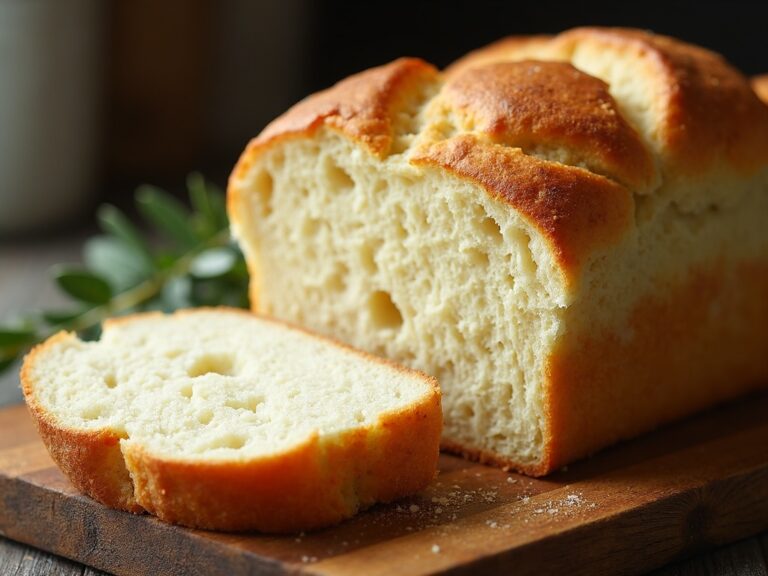
If you stash extra Breakfast Muffins in a zip top bag they can soften by mid morning. I like to pop them in a low oven for a few minutes to revive that crust. It is almost like fresh baked Breakfast Muffins all over again. You can also slice them and toast them like a tiny bread loaf, that makes each Breakfast Muffins taste fresh.
Another hack is to turn leftover Breakfast Muffins into bread pudding or custard bake by layering them in a dish and mixing eggs milk and spices. Bake slow and low for a dessert twist on Breakfast Muffins. You might also enjoy the pull-apart goodness of Monkey Bread for another fun bake.
Final Thoughts plus FAQs
These Breakfast Muffins are simple but you can turn them into a project about heat and how it shapes flavor. Just play with the oven burst at start and let slow and low finish the job. Remember Maillard browning is your friend when you want a toasty top on Breakfast Muffins and protein rest at the end keeps them from gumming up. In total this feels like a friendly cooking class workshop with my neighbor who is a heat nerd and now i am too.
FAQ What if my Breakfast Muffins sink in the middle make sure your leavening is fresh and do not open the oven early too much. Also do protein rest by letting them cool in the pan for a few minutes before moving them.
FAQ How do i store Breakfast Muffins keep them in a cool dry place in a bag or airtight container for up to two days. Revive in a low oven if needed.
FAQ Can i freeze Breakfast Muffins yes freeze them in a bag then thaw on countertop or pop them in toaster to warm through.
FAQ Can i add mix ins in Breakfast Muffins you bet we used nuts berries cheese or herbs you can add whatever floats your boat and adjust sugar or salt accordingly for these Breakfast Muffins.
FAQ Why did my Breakfast Muffins turn out dry check your bake time and oven temp it might be too hot or you left them in a bit too long. Keep an eye on them around the twenty five minute mark.
Now you see how Breakfast Muffins come together from pantry to plate with heat tricks and simple gear. Let that oven do the work low and slow after a quick blast to brown and enjoy every fluffy bite of your Breakfast Muffins.
For a sweet spin on French toast, check out Haitian French Toast.
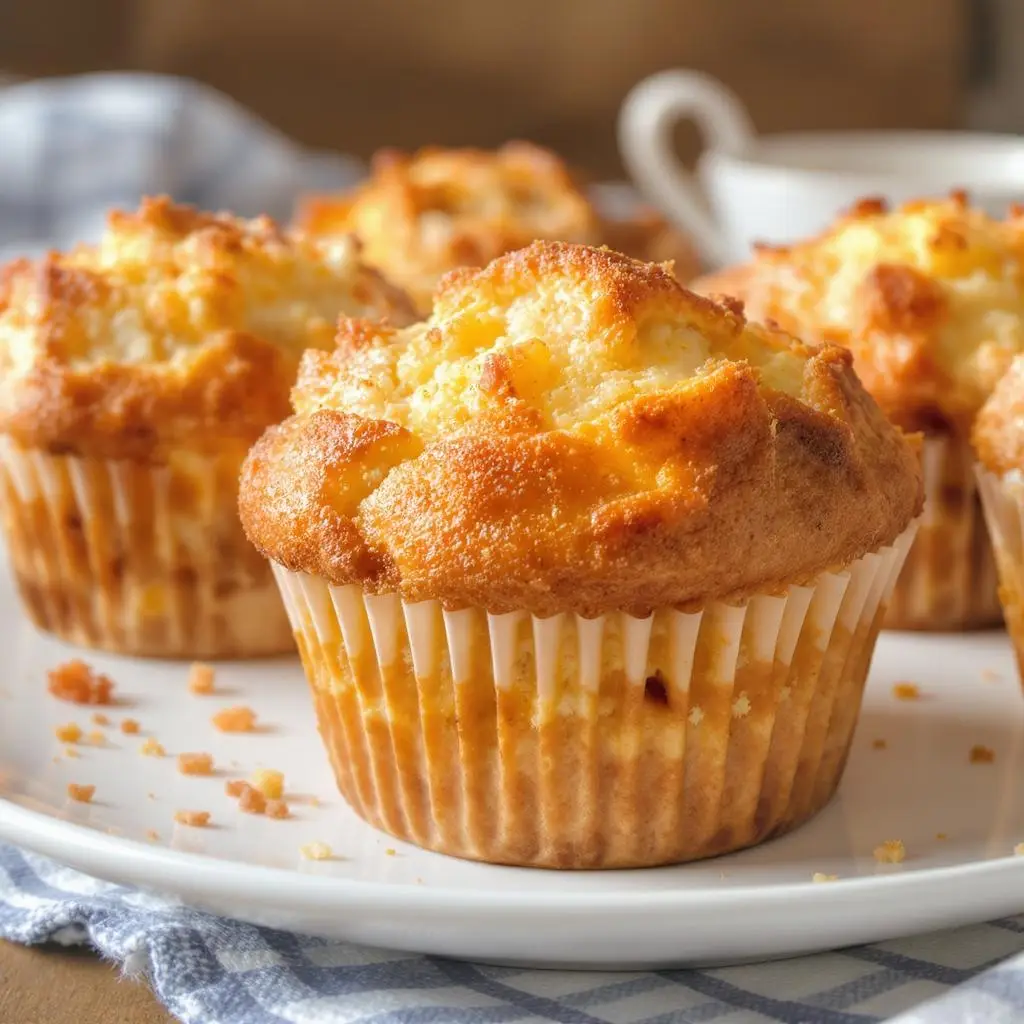
Breakfast Muffins
Ingredients
Equipment
Method
- Preheat your oven to 180°C (350°F). Lightly grease a 12-cup muffin tin or line it with muffin liners.
- Heat 1 tablespoon of olive oil in a frying pan over medium heat. Add the diced red bell pepper and sauté for 2–3 minutes until slightly softened. Add the chopped spinach and cook for 1 more minute until just wilted. Remove from heat.
- In a large mixing bowl, whisk together eggs and milk until smooth and well combined.
- Add the flour, baking powder, salt, and black pepper. Whisk until just combined—do not overmix.
- Stir in the sautéed vegetables, shredded cheddar cheese, chopped bacon, and sliced green onions. Use a spatula to fold the mixture evenly.
- Divide the batter evenly among the 12 muffin cups, filling each about 3/4 full.
- Bake for 18–20 minutes, or until the muffins are golden and set in the center. Test with a toothpick; it should come out clean.
- Let the muffins cool for 5 minutes before lifting them out and serving warm.