Walking into the kitchen at sunrise I get a buzz knowing that today I will bake breakfast muffins that taste almost like a hug in edible form. The smell of warm flour mixing with soft butter and a hint of sweet notes makes my heart race a bit. I set the timer on my oven then reach for the bowl where all that goodness will come together. My neighbor popped in once to ask why I’m so darn focused on heat how it shapes each bite down to the last crumb. It got me thinking about how even simple breakfast muffins can become something extraordinary when you pay attention to the science behind the rise the texture and that toasty crust. If you’re also a fan of savory spin-offs, you might enjoy our protein-packed egg muffins.
With each batch I watch how the top browns as if sunlight kissed it just right. My secret is to think about Maillard browning and caramelization happening at once those chemical steps that turn starch and protein into deep color and layered flavor. I keep reminding myself to let the batter rest a bit so protein rest can make the crumb warmer and more tender. And I’m telling you it all comes down to how you treat heat. So let’s walk through every simple trick that transforms basic batter into perfect breakfast muffins that boast a golden crown and a soft center every single time.
Understanding Heat and Taste in Muffins
Baking breakfast muffins is not just about throwing ingredients together and hoping for the best. Heat is your partner here. It controls rise color and that irresistible crust. When the oven heats up the batter inside meets high radiating warmth that triggers a chain of events. First air bubbles expand and make the muffin rise then Maillard browning kicks in once surface temperatures hit around three hundred sixty degrees Fahrenheit and you get those golden brown peaks we all love.

It helps to think low and slow for part of the bake then bump up the heat toward the last few minutes. That combo helps the interior cook through without over browning the edge. It’s like letting a slow simmer do its work then finishing with a quick burst to crisp and caramelize the sugar on top. So remember heat is not an enemy but the secret ally for breakfast muffins that look and taste like a treat from your favorite bakery.
Assemble the Muffin Crew
- All Purpose Flour about two cups is your base for sturdy pillars that hold moisture and structure for your breakfast muffins
- Baking Powder two teaspoons lift the batter helping it become light and airy
- Salt a pinch or two helps balance sweetness and boosts all the flavors
- Sugar White or Brown half a cup adds sweet notes and aids caramelization on the crust
- Milk Whole or Plant about three quarters of a cup brings moisture and activates gluten so the crumb is soft not chewy
- Eggs Large one or two help structure the muffin and enable protein rest for a stable rise
- Butter Melted half a stick for rich flavor plus it helps with Maillard browning on edges of your breakfast muffins
- Add Ins of Choice berries nuts chocolate chips or seeds give extra texture and taste to each muffin
Each of these pantry staples works in tandem to form the ideal muffin batter that bakes up golden. Too much liquid and you end with a soggy center too little and things are dry. Keep those measures spot on for perfect breakfast muffins every time.
Prepping for Muffin Success in Your Kitchen
Before you even whisk anything together gather tools bowls and your muffin tin. A good metal pan conducts heat fast for that crisp edge. If you have a silicone mold you might need to drop oven temperature by ten degrees to avoid over browning. Turn the rack to the center position so the batter bakes evenly.
Now take a moment for protein rest. Once you mix wet and dry ingredients let the batter sit for five to ten minutes. That way the flour hydrates fully and gluten relaxes so your breakfast muffins bake up with an even crumb not tunnels. While it sits heat the oven low and slow to one hundred fifty degrees Celsius or about three hundred Fahrenheit then crank it up once you slide the tray in. This trick helps with a gentle rise before the rapid transformation takes place.
- Step 1 Mix Dry Goods sift flour baking powder salt and sugar in a bowl then stir to blend evenly
- Step 2 Combine Wet Mix whisk egg milk and melted butter until they look smooth then pour into the dry mix
- Step 3 Fold Gently use a spatula to stir add ins in gentle strokes avoid over mixing to keep the crumb tender
- Step 4 Rest the Batter cover the bowl and let sit for about ten minutes so the protein rest happens and moisture spreads evenly
- Step 5 Preheat for Rise get the oven stable first on a low heat setting then bring it up when you slide in the tray for an extra rise
The Scent of Rising Muffins
About ten minutes in you start to notice the kitchen shift. The air holds a toasty smell that hints at sweet edges forming. That is caramelization in action where sugar molecules break down and recombine to form new aromatic compounds.
At the same time Maillard browning begins on the exposed tops of each muffin. The smell of warm dough meets toasted notes and it just pulls you in. If you’re keen you can crack the oven door for a second to let a rush of steam out then watch the domes swell even more. Trust me that step adds a bit of drama for your breakfast muffins.
Checking In at Mid Bake
Around the halfway mark peek at your breakfast muffins but do it carefully and quick. A fast glance to make sure the tops are rising evenly will prevent any weird domes or sunken centers later.
And if you see one side browning faster than the other rotate the pan ninety degrees. That balances heat exposure so each muffin bakes uniformly. Also note how the batter moves and settles. If you notice a big crack on top that could mean your oven is too hot too soon. Next time adjust the temperature curve to go a bit low and slow at first before that final burst of heat.

Testing Muffin Doneness
To check if your breakfast muffins are done stick a toothpick in the center of one muffin. If it comes out with a few moist crumbs the muffins are done. If there’s wet batter then they need more time.
You can also gently press the top of a muffin with your fingertip. If it springs back you know protein rest and heat have done their work. If it stays indented then bake for another two to three minutes. That little spring test works best for ultra moist muffins that might fool a toothpick test sometimes.
Serving Up Warm Muffins
Once out of the oven let your breakfast muffins rest in the pan for two minutes. That final moment helps set the texture and makes removal easier. Then lift them out and place on a wire rack so steam doesn’t make the bottoms soggy.
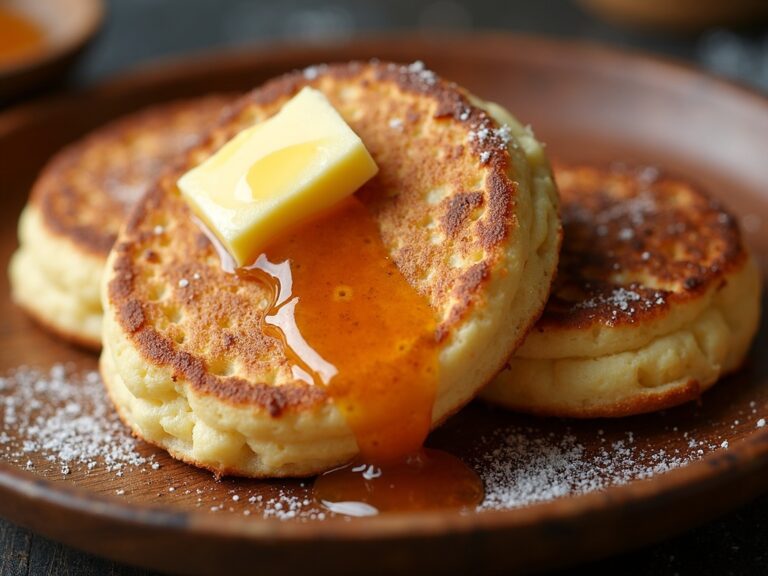
I love to serve them warm with a smear of butter or jam. The contrast of crisp crust and soft crumb melts in your mouth. For extra flair sprinkle a pinch of sugar on top while they are still hot so you get a tiny sweet crunch. For a citrusy morning treat, check out our tangy lemonade scones.
Storing and Reheating Ease
After you enjoy a fresh batch pack leftovers in an airtight container at room temperature. They stay good for two days like that. For longer storage freeze them individually in a zip bag.
When you want one later reheat in the microwave for twenty seconds or pop in a toaster oven at two hundred Celsius about four minutes. That reheating lets you bring back that caramelized edge and warmth just like new. Your freezer stash becomes an instant breakfast muffin rescue on busy mornings.
Key Tips and Common Questions
Every time I bake breakfast muffins I learn something new about heat control texture or flavor. Here are some quick pointers to lock in your success.
Tip one Always preheat fully so the rise is consistent.
Tip two Let the batter rest to hydrate and relax proteins for a tender crumb.
Tip three Watch for signs of Maillard browning and adjust heat low and slow if needed.
Tip four Use the spring back test on the top before you call it done.
Q What if my muffins are too dense then you are likely over mixing or not letting the batter rest. Mix gently and let sit before baking.
Q Why are some tops cracked drastically if cracks go deep your oven may be heating too fast. Drop the starting heat then finish strong.
Q Can I swap ingredients yes you can use plant milks alternative flours or different sweeteners but know that each swap can change how heat transforms the batter.
Q How do I keep my muffins moist do not over bake and store them airtight if you plan to eat them later. Use enough fat and liquid in the recipe for moist crumb.
With these insights into heat science paired with simple pantry items you can bake breakfast muffins that impress every time. Embrace the power of Maillard browning slow simmer style preheat and protein rest. Soon you’ll see how much delight you can extract from basic batter just by tuning in to heat.

Breakfast Muffins
Ingredients
Equipment
Method
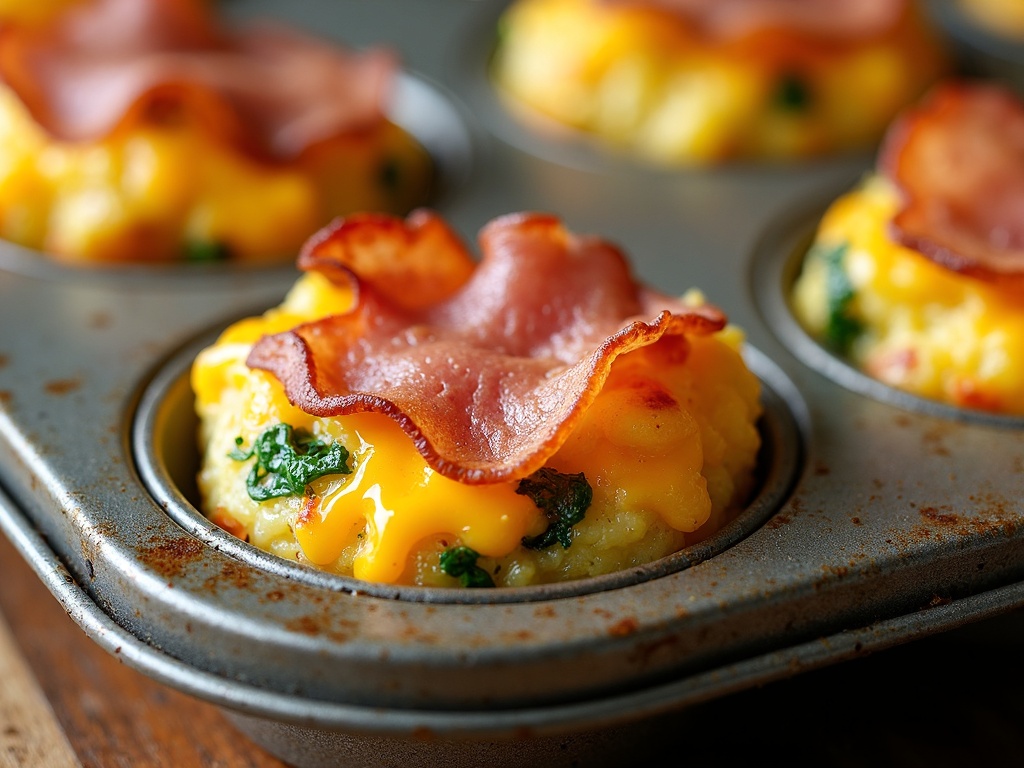
- Preheat your oven to 190°C (375°F). Spray a 6-cup muffin tin with nonstick spray or line with muffin liners.
- In a mixing bowl, whisk eggs and milk together until well combined.
- Add cheddar cheese, diced bell pepper, spinach, ham (if using), salt, black pepper, and baking powder. Mix well.
- Spoon the mixture evenly into the muffin tin, filling each cup about 3/4 full.
- Bake for 18-20 minutes, or until the muffins are set and lightly golden on top.
- Remove from oven. Let cool for 5 minutes in the tin, then transfer to a wire rack.
- Serve warm, or cool completely and refrigerate for a quick breakfast during the week.