When I first turned on the oven to bake my Checkerboard Cake I felt a rush of excitement. The kitchen lights shone on my mixing bowls piled with flour and sugar. I could almost taste the change in texture as each layer took shape. I tried not to overthink it since sometimes overthinking kills the fun. My neighbor poked in to remind me how heat shapes flavor. I told them I got it but inside I was already thinking of how that low and slow rise would give a tender crumb.
My plan was simple I wanted that classic Checkerboard Cake look with contrasting shades of vanilla and chocolate. Every time I whisked I remembered that protein rest could help my batter settle perfectly before I poured it into pans. I could almost smell that sweet scent of caramelization forming at the edges mid bake. I just kept telling myself to keep the faith and keep the oven steady. The whole thing felt like a rite of passage in my tiny home kitchen. I dove in knowing that by the end Id have a pattern of squares that would wow my friends and me.
How Heat Shapes a Checkerboard Cake
Heat works invisible wonders in a Checkerboard Cake. When the batter hits the warmed oven walls the process of Maillard browning kicks in. That reaction between amino acids and sugar gives us the light crust on each layer. If you ramp up the oven temperature too high you risk burning that tender edge. Instead dial back the heat and go low and slow for even color.
While the cake layers bake you also get a hint of caramelization around the rims where sugar concentrates. That sweet ring is a tasty reward. I once forgot the timer and left the cake a bit longer. The result was more caramelized crust but the inside stayed moist. That was the day I learned no two ovens behave exactly the same.
Stock Your Kitchen for a Checkerboard Cake
- All Purpose Flour 2 cups sifted to avoid lumps and keep the batter light
- Granulated Sugar 1 cup for sweetness and to promote Maillard browning
- Baking Powder 2 teaspoons to give your Checkerboard Cake the right lift
- Large Eggs 3 at room temperature for a smooth batter and protein rest benefits
- Milk 1 cup warmed just a bit to help the butter blend in nice and smooth
- Unsalted Butter ½ cup melted for richness and to help the layers hold together
- Cocoa Powder ¼ cup for the chocolate contrast in that checkerboard pattern
- Vanilla Extract 1 teaspoon for flavor depth and a gentle aroma
All these pantry ingredients come together to form the checker pattern in your Checkerboard Cake. Make sure to let your eggs sit out for a protein rest before you whisk them in. That little pause helps trap air pockets which shine through after baking.
Setting Up for Success
Step 1 Preheat your oven to 350 degrees F several minutes before you start mixing. A consistent temperature means even expansion of the Checkerboard Cake layers.
Step 2 Grease two 8 inch round cake pans and line with parchment paper. This prevents sticking and keeps your squares defined.
Step 3 Sift flour and baking powder together in a bowl so you avoid clumps. Clumps can ruin the checker effect when cutting the layers.
Step 4 Beat eggs and sugar until pale yellow and fluffy. When you lift your whisk you should see ribbons form in the batter.
Step 5 Melt butter and warm milk together in a small pot over low heat. A quick slow simmer keeps the mixture at the right temperature for folding.
Step 6 Divide the batter in half, stir vanilla into one bowl then cocoa into the other for your checker contrast. Let both rest a few minutes so bubbles settle.
The Air Fills with Sweet Aroma
There is nothing quite like the first waft of a baking Checkerboard Cake. It smells like childhood afternoons and birthday parties rolled into one. That mix of vanilla warmth and chocolate hint hits the nose every time.
At this point you might close your eyes and take a deep breath. You can almost taste the contrast of sweet and rich flavors. That scent trick is due to small amounts of caramelization happening at the edges. Even the act of breathing in helps you believe you can nail this cake.
Mid Bake Checkpoint
About twenty minutes in peek through the oven window. You want to see gentle rise not giant bulges. If one side seems browning faster rotate both pans front to back. Rotate quick so you keep the temperature stable.
If the top still feels wet but the edges look firm you are on track. That wobble means the center needs a bit more time. Keep your oven door closed unless you need to adjust pans. Each peek drops temperature so try to limit those visits.
When the layers spring back under gentle pressure you can test with a wooden skewer. Insert near the center avoid the very middle of the pan. A few moist crumbs are okay but you dont want raw batter sticking to the probe.
Taste Test and Texture Notes
Let the layers cool in the pans for five minutes before you flip them onto a rack. While they cool check the crumb. It should be fine and even no big holes or tunnels. That means your leavening was just right.
When you nibble a warm bit you get a hint of Maillard browning from the edges. The center stays soft and tender. If you find it too dense try beating your eggs a bit more next time. That whisk motion traps air to lift the batter.
Plating the Checkerboard Masterpiece
Once your layers are fully cool stack them with a thin spread of buttercream in between. Use a smooth spatula to level the top edges until each layer looks even. Then refrigerate for fifteen minutes so everything sets.
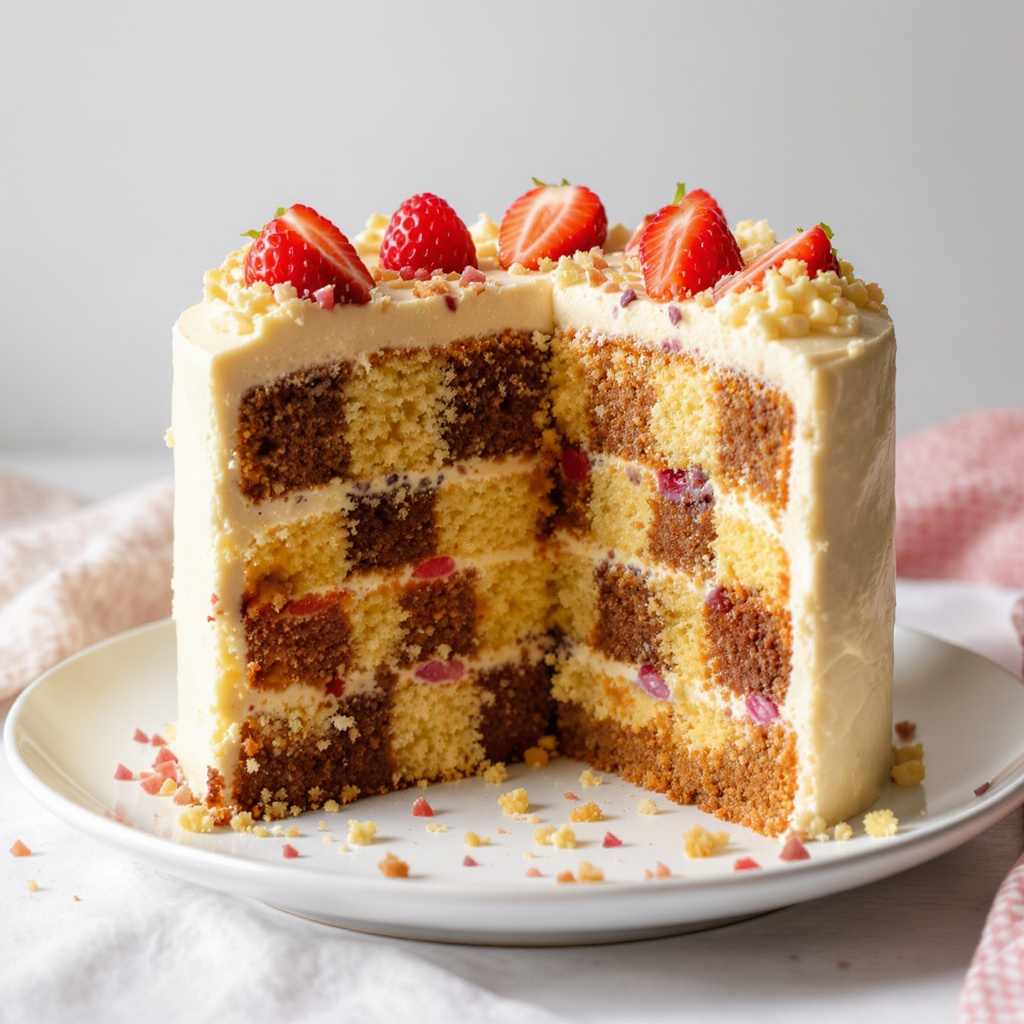
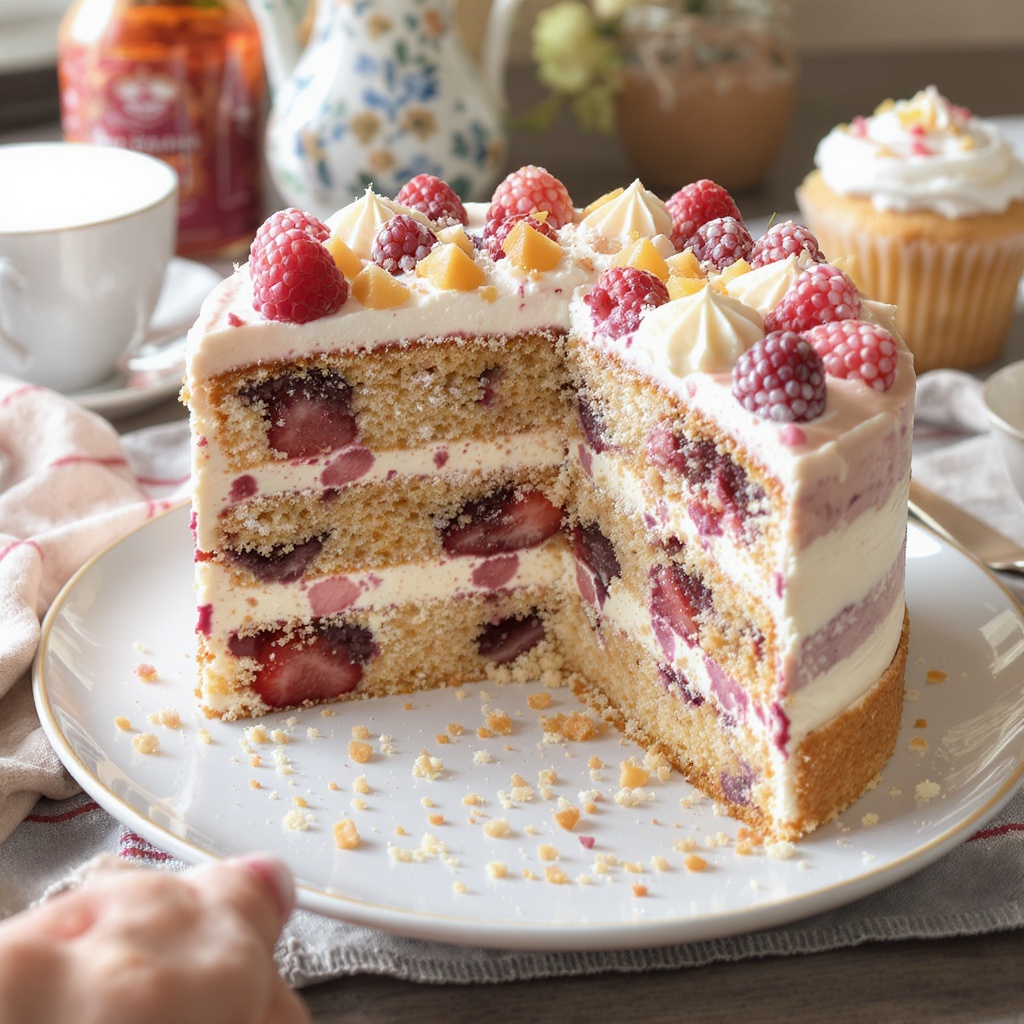
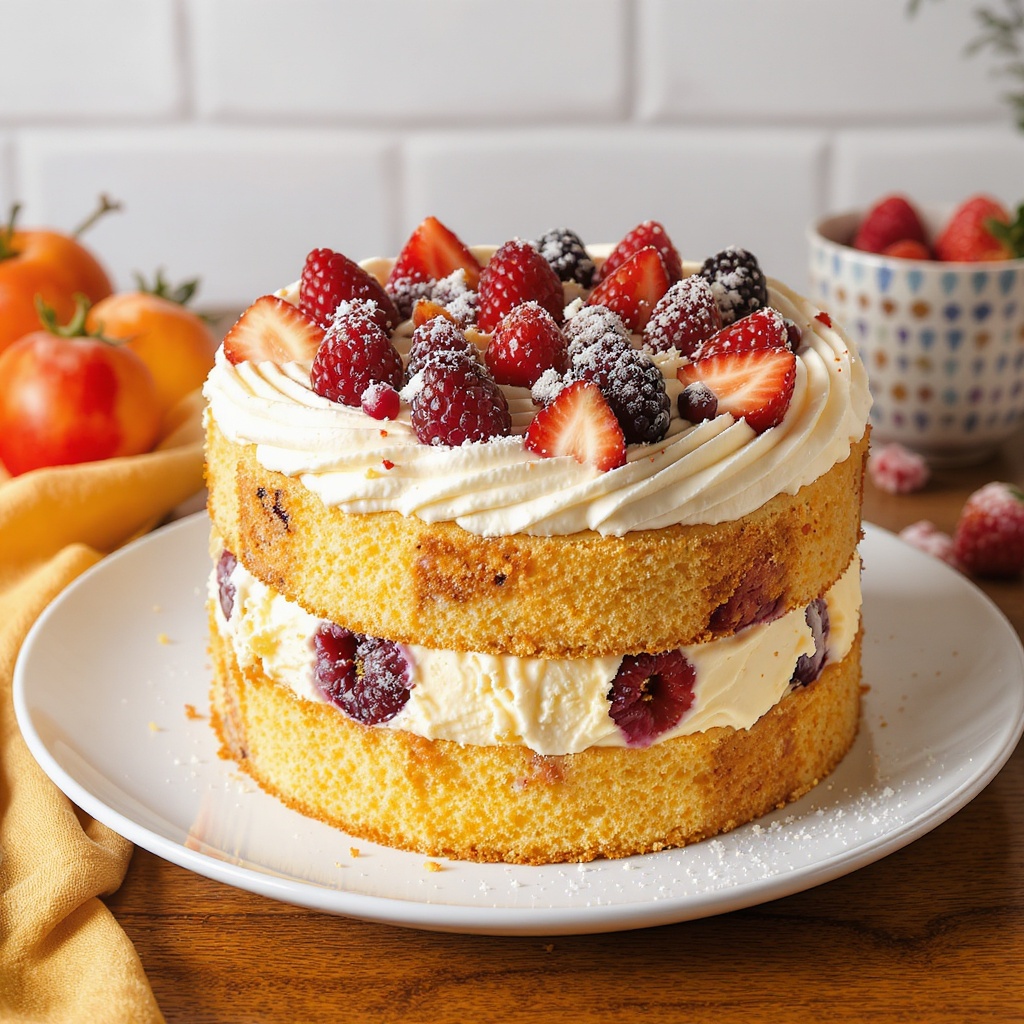
Slice into perfect squares revealing the checker inside. Place on a simple white plate to let the pattern pop. Add a dusting of powdered sugar for an extra touch of sweetness. Your Checkerboard Cake is ready to shine.
Saving Slices for Later
If you end up with leftovers dont worry. Wrap each slice tightly in plastic wrap then place in an airtight container. Store in the fridge for up to three days for best texture and flavor. The refrigerator keeps that buttercream firm so the cake holds its shape.
For longer storage freeze slices on a tray for an hour. Then wrap each piece in foil and slip into a sealed bag. You can keep them up to one month. Thaw overnight in the fridge before serving. Let the cake come to room temperature so the crumb softens again.
Final Tips and FAQs for Your Checkerboard Cake
Tip Always let the buttercream chill a bit before you spread it. If its too soft youll get holes in your layers. A quick protein rest in the fridge makes it easier to spread.
Tip Use cake strips or damp cloth around your pans for more even baking. That slow and steady heat helps avoid a domed top which can wreck your checker pattern.
Question How do I fix a sunken center. Answer Make sure you dont open the oven door early. Let the cake bake low and slow until it firms up. Also measure your flour properly avoid packing it into the cup.
Question Can I swap milk for a plant based milk. Answer Yes you can use almond or oat milk in equal amounts. They wont change the chemistry too much and still let you get that Maillard browning.
Question Why is my pattern fading. Answer Check your cocoa powder measure. Too little wont give a dark enough contrast. Also dont overmix after adding cocoa or the color can lighten.
Have fun baking your Checkerboard Cake and remember its all about patience and heat control. That balance of protein rest and caramelization gives you each square just right. Enjoy each slice with a smile and share it with friends.
Checkerboard Cake
Ingredients
Equipment
Method
- Preheat your oven to 350°F (175°C). Butter and line three 8-inch round cake pans with parchment paper.
- In a bowl, whisk together the all-purpose flour, baking powder, and salt for the vanilla cake layers.
- In another bowl, using a mixer, cream the softened butter and granulated sugar until light and fluffy for the vanilla cake mixture.
- Beat in the eggs one at a time, mixing well after each addition, then mix in the vanilla extract.
- Alternately add the flour mixture and whole milk to the creamed butter and sugar, beginning and ending with the flour until just combined.
- Pour half of the vanilla cake batter into one prepared pan and set the rest aside.
- In a separate bowl, sift together the flour, cocoa powder, baking powder, and salt for the chocolate cake layer.
- In a mixer bowl, cream together the softened butter and granulated sugar for the chocolate batter.
- Beat in the eggs one at a time, then add the vanilla extract.
- Alternately add the dry ingredients and whole milk to the chocolate mixture until just combined.
- Pour the entire chocolate batter into the second prepared pan.
- Take the reserved vanilla batter and add dollops into the third pan, followed by dollops of the reserved chocolate batter. Swirl with a knife to create a marble effect.
- Bake all pans for about 28-32 minutes, or until a toothpick inserted in the center comes out clean. Cool cakes in pans for 10 minutes, then carefully turn onto a wire rack to cool completely.
- Beat the softened butter for the buttercream frosting until creamy, then gradually add confectioners’ sugar, beating well.
- Beat in vanilla extract, a pinch of salt, and milk until the frosting is fluffy.
- Level the cooled cake layers using a serrated knife.
- Using round cookie cutters (6-inch and 3-inch), cut concentric rings in each cake layer. Carefully exchange inner and outer rings to alternate chocolate and vanilla cakes in each layer.
- Spread a thin layer of buttercream between the rings to hold them, then stack the cake layers with frosting between them.
- Apply a thin ‘crumb coat’ of frosting around the entire cake and chill for 20 minutes.
- Finish with a smooth, even layer of buttercream on top and sides, and decorate as desired.