Aha meets crunch revelation
Youre standing at the stove kinda confused how that plain chicken cutlet turned into the best thing you ever tasted with Chicken Milanese yall. That crispy crust was a total game changer when you first saw the golden brown color pop from caramelization and heard that satisfying crunch. Heck it felt like a dang fireworks show in your mouth just from that one bite of Chicken Milanese goodness.
Next you noticed how the protein set layer kept the meat juicy while the crust stayed crisp the whole time you ate it. You kinda geeked out over why a simple breading and pan frying routine could pull that off so perfectly with Chicken Milanese at the center of the flavor party. You whispered protein set and slow simmer in your head but you aint simmering this recipe just frying it.
That moment flipped your whole dinner routine on its head because now you know how to chase that crunchy caramelization every single time you whip up Chicken Milanese for folks. Its low fuss but dang it hits right in all the right spots whenever you serve it up the family and yall dive in together.
Science wins bullets
- Protein set keeps juices inside while the crust crisps up just like in Chicken Milanese lab style focus
- Caramelization on the breading forms flavor compounds that your tongue reads as sweet nutty crunch perfection
- Panko or fine breadcrumbs change texture because the air pockets promote better crisp in Chicken Milanese texture hack
- Resting the cutlet after pan frying lets heat even out and prevents undercooked centers
- Acidic wash or gentle buttermilk soak tenderizes muscle fibers so you dont get rubbery Chicken Milanese bite
- Pan frying with a medium high heat and slow simmer of leftover oil keeps temperature steady for golden crust
- Protein coagulation starts around one hundred fifty five degrees Fahrenheit for chicken ensuring you hit food safe mark every time
Ingredient job roles list
Flour coats the chicken providing a dry layer for the egg to cling to makes sure the breadcrumbs wont fall off during Chicken Milanese action
Egg wash acts as binding glue transforming into a sticky protein network that grabs onto both the flour and panko crumbs for perfect adhesion on Chicken Milanese crust
Panko breadcrumbs add the coarse texture and air pockets that let oil circulate and deliver the crispiest golden brown in Chicken Milanese style cooking technique
Salt seasons the meat and it helps with moisture retention letting protein set more reliably while pan frying Chicken Milanese so you get juicy center every bite
Pepper and optional herbs like parsley bring aromatic compounds that you smell first then taste on that crisp edge of Chicken Milanese delight
Oil with a high smoke point maintains a stable frying environment prevents burning so your Chicken Milanese crust stays uniform golden
Prep moves part one
You start by pounding your chicken breasts flat to eight millimeters thickness for even cooking and less chance of raw center in Chicken Milanese action. Youre doing some gentle muscle flex with a rolling pin inside a bag so stuff doesnt fly everywhere. Its kinda fun if you got music playing.
Then you set up three shallow bowls on your counter flour in first bowl egg and water mix in second bowl panko in third bowl. That assembly line approach makes the breading move faster and cleaner for Chicken Milanese prep season.
Season the flour with a pinch of salt and pepper so every layer gets its chance to flavor the chicken. Youre not gonna skip this or youll regret bland Chicken Milanese on the first bite.
Taste throwdown scene
You bite into that crunchy coating and notice how that breaded layer sings with nutty notes from caramelization while the meat stays tender and warm. Thats the Chicken Milanese effect right there, yall wont shut up about it.

The contrast between crisp outside and juicy inside makes each forkful kinda addicting. You catch yourself sneaking more scraps of crumbs like a kid tearing into candy. Thats how you know your Chicken Milanese hit the spot.
Cooking moves part two
You heat oil in a skillet until it shimmers, then slide in each breaded Chicken Milanese piece. You gotta keep an eye on that heat so it doesnt skyrocket and burn your crust. Youre looking for a steady bubble dance around the edge of the cutlet.
Flip after three minutes or once the edge looks golden. Dont fuss or prod too much or youll let out heat and change up that caramelization stage messing with your final crisp factor on Chicken Milanese perfection quest.
Cook the other side the same way tapping the middle to feel for firmness that hints at protein set. When theyre done you place them on a wire rack not paper towel so steam escapes and crust dont get soggy which is crucial for stellar Chicken Milanese every time you try it.
Nerd handy notes
Resting time of five minutes off heat helps the carryover heat finish cooking interior without drying it out after Chicken Milanese hits the plate.
Using clarified butter or a mix of oil and butter ups flavor but keeps smoke point higher so you dont scorch the crumbs on your crisp Chicken Milanese edge.
Parmesan addition into panko gives a savory boost but adds more browning factors so watch the color close during that second side fry.
Low moisture flour like rice flour works great if you want extra crisp in Chicken Milanese but youll lose some nutty wheat flavor so weigh your test try results.
Simple plating ideas
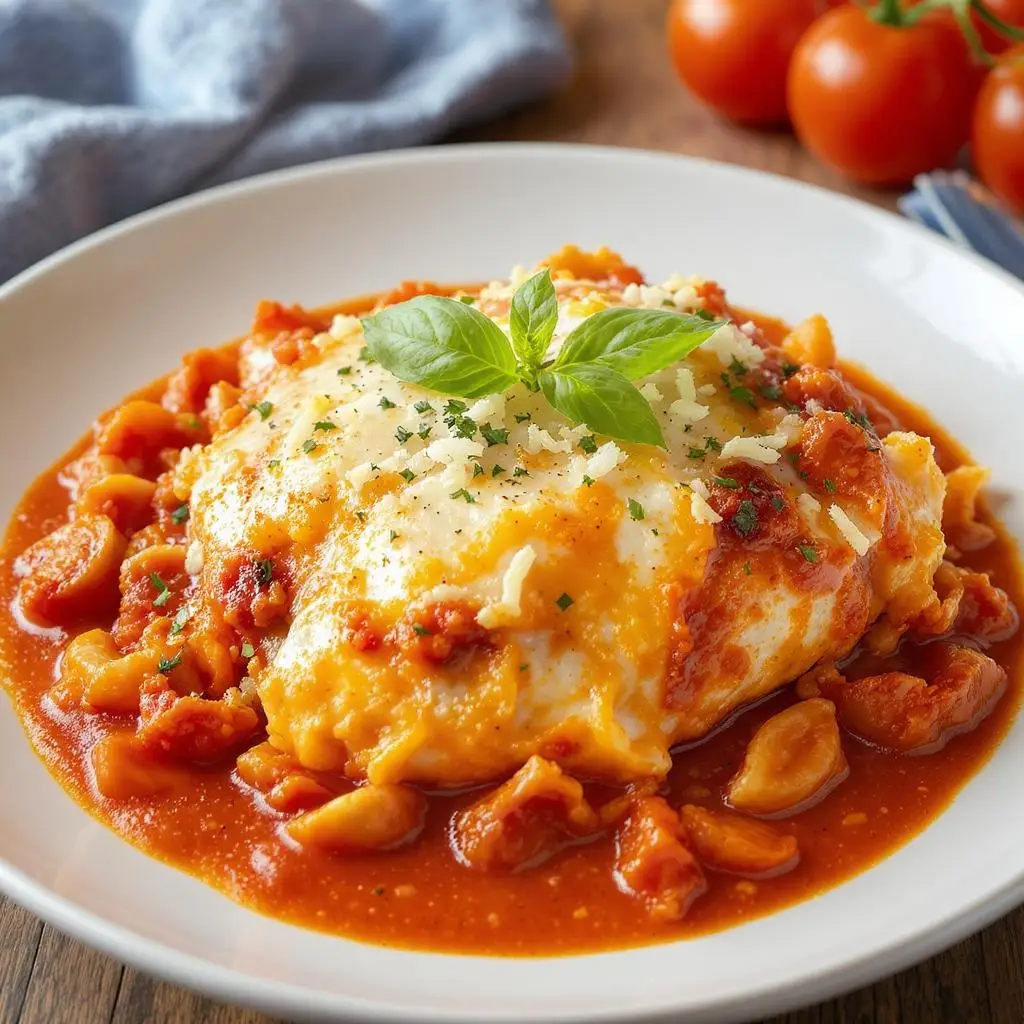
Place Chicken Milanese slice on a simple white plate drizzle fresh lemon juice and scatter parsley sprigs for that bright pop of green yall will love.
You can stack the cutlets or fan them out over greens for a classy vibe without thinking too hard about fancy plating when youre hungry.
Serve alongside a quick tomato salad tossed with olive oil and basil for color contrast thats the perfect partner to your Chicken Milanese dish.
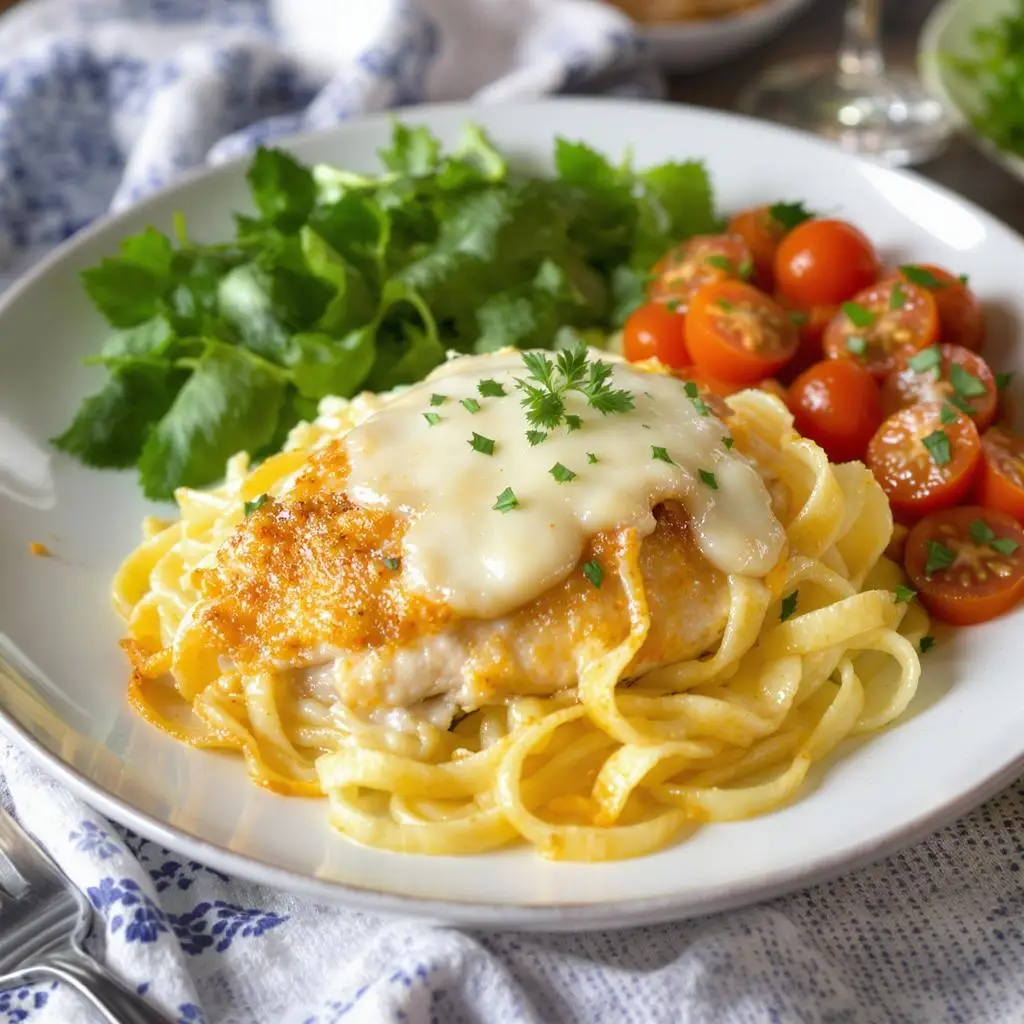
Try a side of pasta with peas for a bright, spring-like twist.
Variable tweaks
Swap panko for crushed tortilla chips or cornflakes if you want a different crunch profile on your Chicken Milanese experiment. Those options add funky corn notes.
Add garlic powder or smoked paprika to your flour phase for a flavor twist that makes your Chicken Milanese stand out from the usual routine.
You could use boneless thighs if you want a fattier juicier result but cook a bit longer till protein set no longer jiggles that core of your Chicken Milanese plate.
Try shallow baking in oven at two hundred twenty Celsius after searing both sides in pan for a lower oil method with crisp outcome still yielding that Chicken Milanese vibe.
Storage data
Let Chicken Milanese cool fully before you store or you introduce steam that ruins the crisp. Patience here pays off in quality when you reheat.
Store in an airtight container lined with paper towel to absorb excess moisture keeps that crust as close to fresh crisp as possible when you pull it out later.
Refrigerate up to three days for best taste and texture any longer and you risk losing that golden crunch that defines Chicken Milanese feasts.
Final takeaway
Chicken Milanese shows how simple ingredients flour egg crumbs plus a bit of science can deliver restaurant style crunch right in your home kitchen. You just gotta treat each step with a lil respect for caramelization and protein set process.
Youre now armed with prep hacks resting tips and plating ideas ready to wow family yall wont stop raving about your Chicken Milanese achievements.
Science FAQs
Why does Chicken Milanese need a flour layer first Answer flour soaks up moisture and creates a base membrane that lets the egg stick proper avoiding crumb slippage mid fry.
How do I know when the protein set is complete You feel a slight bounce in the middle and the juices run clear plus thermometer reads one hundred sixty five Fahrenheit signal safe and succulent Chicken Milanese.
Can I skip resting time You really shouldnt because that pause equalizes internal temps preventing underdone pockets and stops steam from softening your crisp Chicken Milanese coat.
What oil is best for frying Chicken Milanese Neutral oils with high smoke point like canola or avocado oil work amazing letting caramelization happen without burning breadcrumbs.
Will panko always be better than standard breadcrumbs Panko gives a more open airy crunch but regular breadcrumbs deliver more flavor per bite you could even blend them for custom Chicken Milanese crust results.
Chicken Milanese
Ingredients
Equipment
Method
- Flatten the chicken by placing each breast between two sheets of plastic wrap and using a meat mallet or rolling pin to pound it to an even thickness of about 1 cm. Season both sides with 1 tsp salt and half of the black pepper.
- Set up three shallow bowls: one with flour, one with a whisked mixture of eggs and milk, and the last with a mixture of breadcrumbs, Parmesan cheese, garlic powder (if using), 0.5 tsp salt, and the remaining black pepper.
- Dredge each chicken breast in flour, dip into the egg mixture, and then press into the breadcrumb mixture to coat thoroughly. Place the breaded cutlets on a baking sheet.
- Heat olive oil in a large skillet over medium-high heat. Once hot, cook the chicken cutlets in batches for 3–4 minutes per side, or until golden brown and crispy. Avoid overcrowding the pan.
- Transfer the cooked cutlets to a wire rack or paper towels to drain excess oil.
- Serve the Chicken Milanese hot, garnished with fresh parsley and lemon wedges, and pair with a simple salad or pasta if desired.