I love whipping up homemade granola bars early on weekend mornings when the kitchen is quiet. I’m the home cook next door who flowers over heat and all the little flavor twists it brings. My neighbor keeps poking his head in asking if I remembered to crank up the oven low and slow for that perfect chew. He is kinda nuts about Maillard browning and how it helps my granola bars hit that golden note.
Sometimes I catch myself whispering to the oats, telling them to get ready for caramelization in the pan. And just like he says I pay attention to protein rest once they cool down so they stick together just right. I never thought I’d be chatting to oats and nuts but hey this is granola bar crafting at its most fun. These bars get better each bake by tweaking heat and timing just a bit.
Why Heat Matters for Crunch
Heat is the main force behind that perfect bite in granola bars. When oats and nuts meet a toasty oven they undergo Maillard browning which gives a toasty depth. You want the oven set to low and slow so things crisp up evenly without burning. Too hot and the edges go dark before the center gets any color, too cool and you end up with soggy bars.

That sweet golden hue you see is caramelization at work. Sugars in honey or syrup start to bubble and darken as they heat up. If your stove is set to a slow simmer when you mix the sweet binder you give those sugars time to meld. Its kinda like a zen moment in the kitchen but you gotta watch it close. Once cooled this heat shaped caramel layer keeps each granola bars batch chewy yet crisp.
Pantry Lineup for Your Bars
Gathering the right stash makes a world of difference in your granola bars game. I always shrug into the pantry and pick up these key players before I even think of mixing bowl.
- Old fashioned oats they hold structure and soak up just enough syrup
- Chopped nuts almonds or walnuts add protein and crunch
- Seeds sunflower or pumpkin seeds for extra bite
- Dried fruit like raisins or cranberries for chew and sweet bursts
- Honey or maple syrup as the syrupy binder
- Peanut butter or almond butter to help everything stick
- Vanilla extract for flavor depth
- Pinch of salt to bring out every nuance
Getting Set to Build Bars
First step is lining a baking pan with parchment paper so your granola bars dont stick. I like to press the paper up the sides kinda sloppy but it works. Then I measure the dry mix into a big bowl. The oats and nuts go in first so they see that Maillard browning love once they hit the oven.
Next I heat honey and peanut butter in a small pot. I turn the burner to a slow simmer state so I can stir without splatters. The mixture gets glossy and looser after a few minutes. I keep an eye on it because once I see tiny bubbles I know caramelization is kicking in. Then I pull the pan off the heat and whisk in vanilla and salt. Its at this point I remember what my neighbor said about protein rest. I pour the sweet mix over the oats and gently fold so each bit is coated before pressing into the pan.
That First Nutty Scent
Once the granola bars start to bake the kitchen fills with a toasty aroma that is hard to beat. You get hints of nuts popping and oats crisping all at once. The smell is warm like a fresh bakery but its totally homegrown.
At around ten minutes I pause and peek through the glass. The edges are turning golden brown. That is my signal to give the pan a gentle shake. It makes sure the balls of mix flatten and fill every nook so each bar bakes up even. This early scent tells me these granola bars are on track.
Midway Texture Check
Halfway through baking I take the pan out and give it a nudge. I look for even browning across the top. If one corner is darker I give that side a little rotate towards the heat. Its key for uniform crispness in granola bars otherwise you get chewy bits next to overdone bits.

This is when I think about Maillard browning again. I watch how the oats and nuts interact with heat. If they look pale I nudge the temp up a tad. If they look on fire I drop it down. This low and slow technique helps me nail that perfect chewiness. Then I pop the pan back in and set the timer for the last stretch.
Notes from the Probe
At the finish line I slide the pan out and let it rest for about ten minutes. Thats the protein rest stage when everything firms up. If you cut too soon the granola bars can crumble and fall apart. After cooling a bit I slip a thin knife under the paper and lift the whole slab onto a cutting board.
I drag the knife across the top in gentle slices. If the cut looks neat and the pieces hold shape you know you got it right. If bits stick or tear I let the whole slab chill for another five minutes. Timing is everything when it comes to neat bars.

Decking Out Your Plate
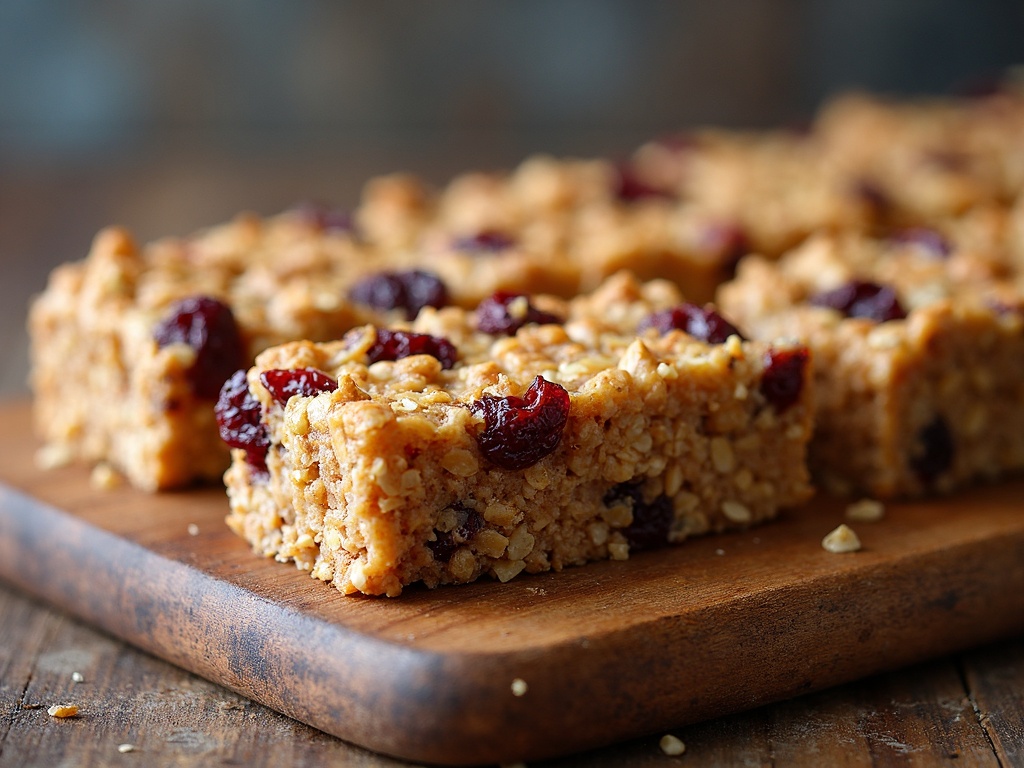
Once you got your bars cut you can get creative with the final display. I like lining them up on a wooden board kind of rustic not too perfect. A little scattering of extra nuts or seeds around makes it feel special.
For a snack serving I stack two bars and tuck in a small bowl of yogurt or fresh berries. The tang of yogurt contrasts the sweet edges of each granola bars slice. Its simple Flair that makes them look like you planned a treat.
Saving Leftover Pieces
Its normal to end up with odd shaped scraps when you cut granola bars. Dont toss them just yet. Those pieces make amazing toppings for cereal yogurt or ice cream. I freeze a bag of crumbs for when I need a quick crunchy boost.
If you plan to store bars for a few days keep them in an airtight container at room temperature. That way they stay chewy but not soft. For longer stash you can pop them in the freezer between sheets of parchment. When your neighbor swings by you can break off a scrap to show how well heat shaped each bite.
Final Tips and Common Queries
How long do granola bars last In an airtight container at room temperature they can stay fresh for five days. You ll know they went off if they lose that crisp chewiness.
Can I swap honey for other syrups Sure you can try maple or agave just watch your bake time. Different sugars caramelize a bit differently.
What if my bars spread too much Its usually from too much binder or not enough oats. Next batch add a touch more oats or reduce the peanut butter by a teaspoon. Then bake low and slow and they won’t run away.
Can I make them gluten free Swap in gluten free oats and make sure none of your add ins have cross contact. The process stays the same no matter what variant you choose.
Heat control is the star of this granola bars show. Paying attention to Maillard browning caramelization and low and slow cooking transforms plain ingredients into next level snacks. Keep experimenting and note how each tweak changes the final crunch.
Granola Bars
Ingredients
Equipment
Method
- Preheat your oven to 350°F (175°C). Line an 8x8 inch baking pan with parchment paper, leaving a slight overhang for easy lifting.
- In a mixing bowl, combine rolled oats, chopped almonds, and shredded coconut. Spread the mixture on a baking sheet and toast in the oven for 10 minutes, stirring once, until golden.
- While the dry mixture toasts, combine honey, unsalted butter, brown sugar, and salt in a saucepan. Warm over medium heat until the butter is melted and the mixture lightly bubbles. Remove from heat and stir in the vanilla extract.
- Return the toasted oat mixture to the mixing bowl. Add dried cranberries (or raisins) and optional chocolate chips, then pour the warm honey-butter mixture over the ingredients. Mix well with a spatula until thoroughly combined.
- Transfer the mixture into the prepared baking pan. Press it down firmly and evenly with a spatula or your hands.
- Bake in the oven for 15 minutes, until the top is lightly golden. Cool in the pan for 15–20 minutes, then lift out using the parchment overhang.
- Slice into 10 bars and let them cool completely to set.