I really love how small changes can make a big difference in my Make Ahead French Toast routine. I started playing around with heat and timing one lazy Sunday morning. I had a stack of bread that was about to go stale and figured I might as well test out a new twist on Make Ahead French Toast. It felt like a fun experiment in my kitchen lab, even if I was just wearing my favorite apron from last winter.
My neighbor keeps telling me to remember that heat is the secret weapon in shaping our favorite breakfast treats. As I dipped each slice in my custard mix, I thought about that nudge from earlier and how Maillard browning could turn plain toast into a golden masterpiece. I kept that in my mind as I arranged the soaked bread on the baking sheet, ready for the oven dance.
There’s something satisfying about planning ahead for a busy morning. To me Make Ahead French Toast is not just a time saver, but a chance to watch how caramelization and protein rest work together. You let the eggs and milk hang out with the bread for a bit, then apply a gentle oven heat and all that flavor tech comes alive. I’ll walk you through it, and you’ll see how this simple heat magic can level up your brunch game.
Heat and Flavor Fusion
When I talk about Make Ahead French Toast I always circle back to good heat control. Too much fire and you burn the edges. Too little and you end up soggy in the middle. I found that a low and slow bake at around three hundred fifty degrees Fahrenheit does wonders for even browning and a custardy center. I let the tray sit on the middle rack so every slice gets equal warmth.
Think of this like a slow simmer for a soup. You want to coax out the flavors without scorching. The same goes for caramelization on our Make Ahead French Toast. You need just enough heat to trigger that beautiful browning reaction but not so much that the toast ends up dry. Remember how the Maillard browning brings out deep notes of toffee and nutty richness? That is where the real breakfast upgrade shows up.
Pantry Roll Call for Make Ahead French Toast
- Bread choose a sturdy loaf like challah or brioche about one day old for better custard soak
- Eggs large ones that give body and protein rest time to firm up the custard coating
- Milk whole milk works best for richer flavor, half and half is also a treat
- Vanilla Extract just a splash to brighten the mix
- Ground Cinnamon adds warm spiced vibes without overpowering
- Sugar granulated or brown to kick off that caramelization early on
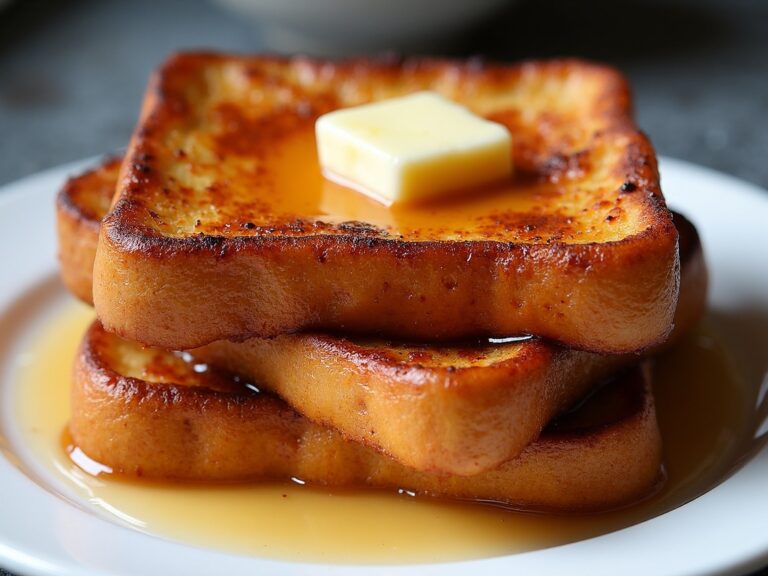
- Butter for greasing the pan or adding pats on top before baking
- Maple Syrup optional for drizzling after or stirring into the custard
When I scan the pantry for Make Ahead French Toast essentials I make sure each of these items is lined up. It helps keep me calm instead of frantically searching for things as the oven ticks.
Your Prep Station in Action
I set up everything before I even crack an egg. I grab a shallow dish for the custard and whisk together eggs, milk, sugar, vanilla, and cinnamon. You want a smooth mix with no stringy bits so that each slice of bread gets an even coating. This is the moment to remember how protein rest helps the eggs bind without getting grainy.
Next I butter or spray the baking pan so the soaked slices slide easily. Then I slice the bread into thick pieces about three quarters of an inch each. Thick slices hold on to more custard and give that nice balance of crisp and tender. After that I dip the bread, letting it sit about thirty seconds on each side so the custard soaks in. That step is so key to make sure your Make Ahead French Toast stays custardy inside.
Aroma of Maple and Warmth
By the time the oven warms up you get this cozy smell that has you thinking of Sunday mornings. The cinnamon in the custard starts releasing that sweet and woody note. Maple syrup on the counter adds a sticky fragrance that makes me smile every time.
That moment is like a checkpoint for my senses. I always pause and breathe in, reminding myself how low and slow heat teases out those inviting smells. This scent stage is one of my favorite parts of the Make Ahead French Toast routine.
Mid Cook Moments
About ten minutes in you peek at the tray and notice edges turning golden. That is where Maillard browning kicks in and transforms each slice. You want to check if any spot looks pale, then rotate the pan for even color. I like to draw a mental note here and adjust if needed.
At this point Make Ahead French Toast is firm enough to flip or you can leave it if you prefer a top crust. I usually give it a little spray of butter or an extra pat right on top. It helps with browning and adds a bit more caramelization along the edges. Remember to keep the oven door shut as much as you can, each peek bleeds out precious heat.
Temperature Tips and Texture Checks
I stick a small cake tester or a thin knife into the center to check the doneness. If it comes out warm with no runny custard then you are good to go. If you see wet streaks, let it cook a bit more. You do not want to overbake or the slices become dry. It is all about that perfect balance.
This testing stage reminds me how much protein rest and heat working together shape the final feel. Each slice should be creamy inside, and crisp outside. Probe each corner slice too, sometimes the edges cook faster than the center ones.
Plating with Pizzazz
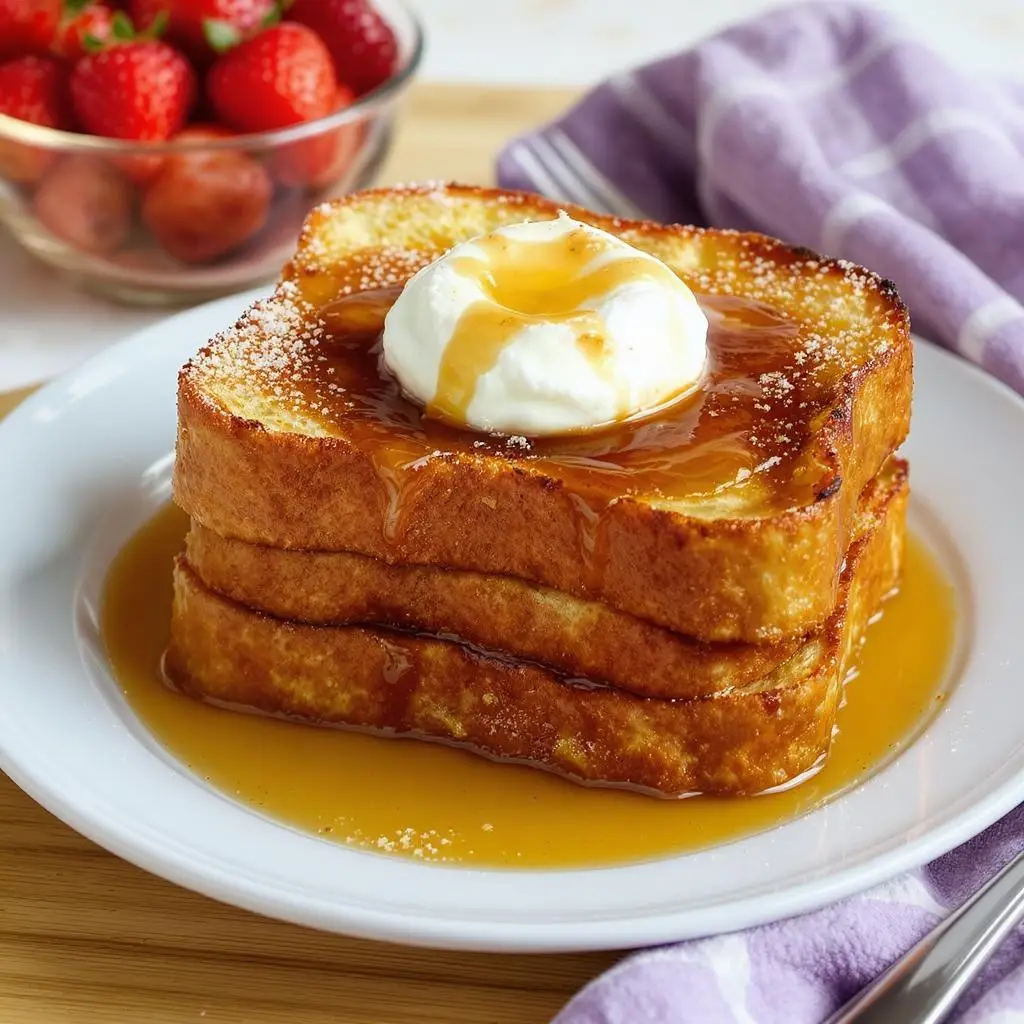
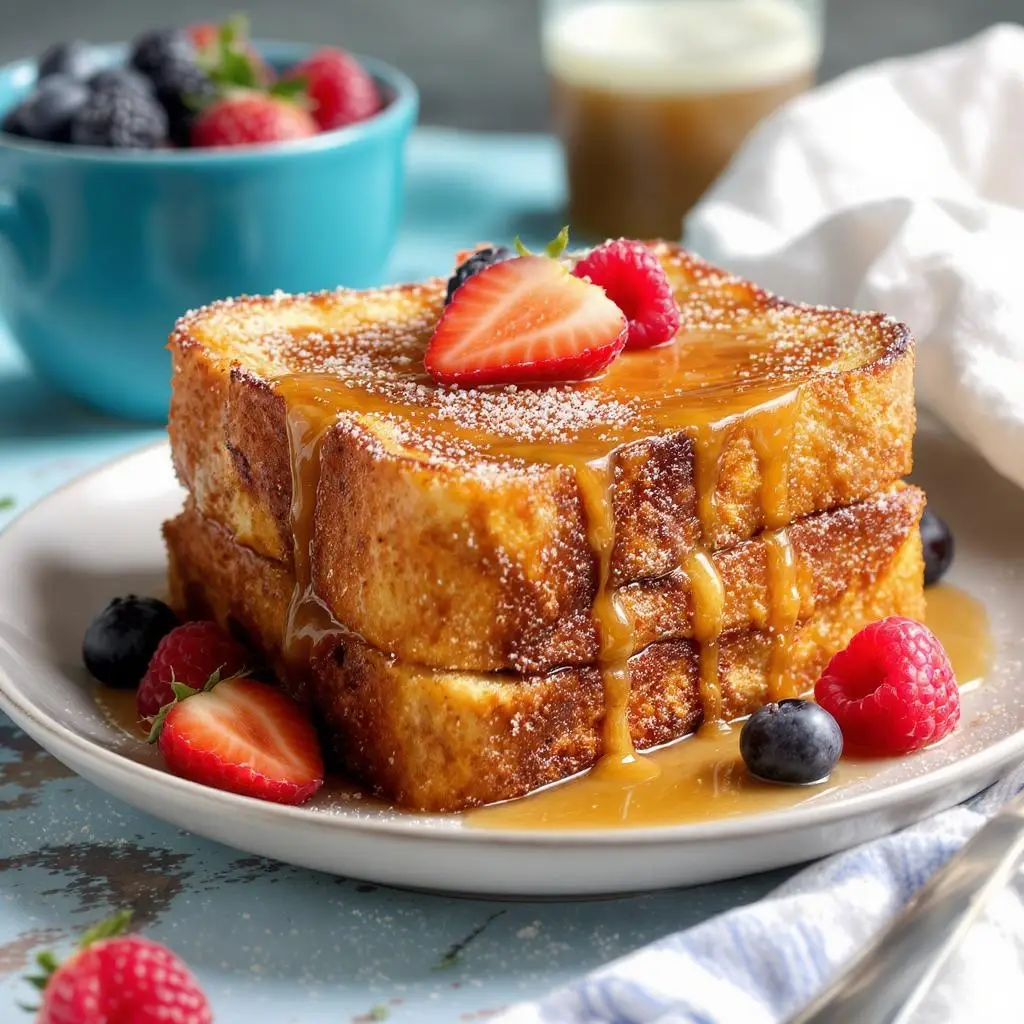
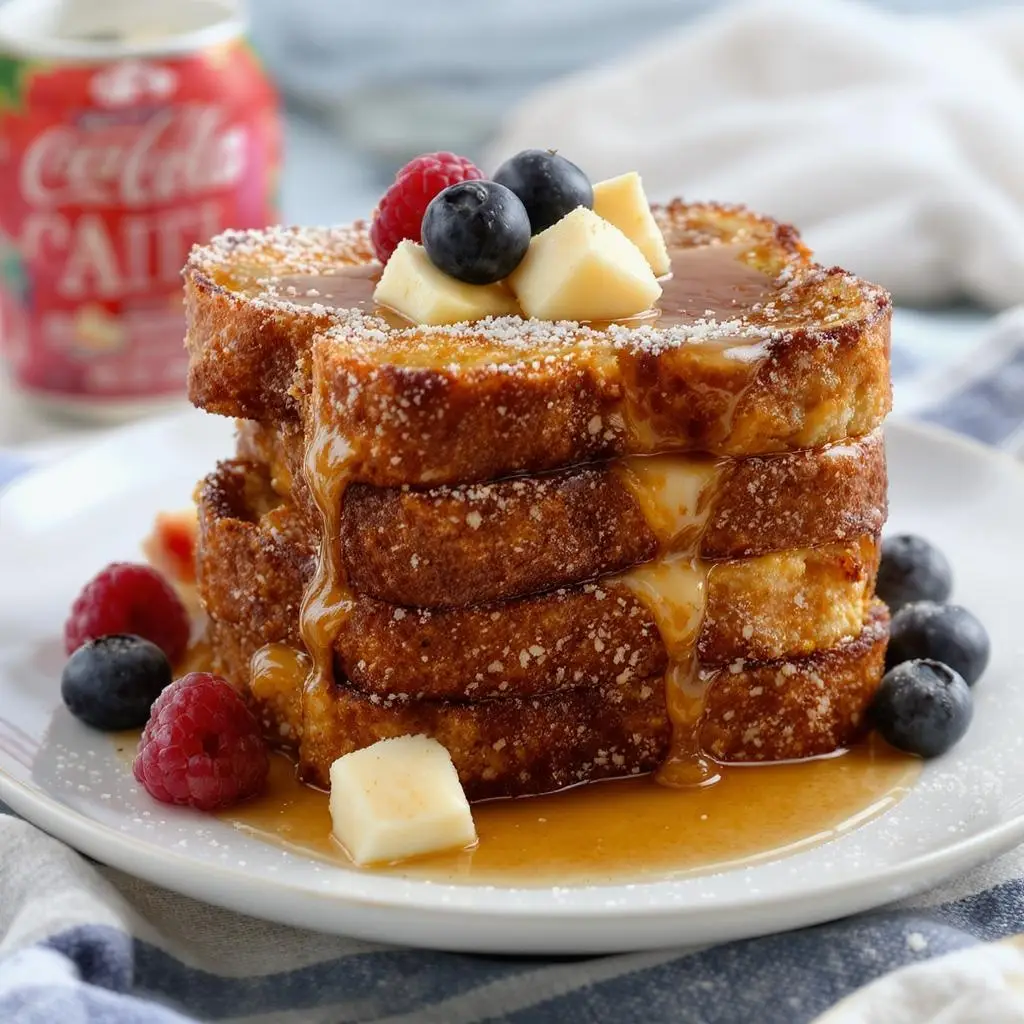
I pile two slices on a plate and dust them with a bit of powdered sugar. A drizzle of warm syrup across the top makes it pretty. I tuck a few fresh berries on the side for color and a burst of brightness, or serve Blueberry French Toast for a fruity twist. Quick sprig of mint seals the deal.
When I serve Make Ahead French Toast I like to grab a small ramekin of leftover custard on the side and let guests dip if they want more sauce on top. It is a fun touch that they never expect but always love.
Leftover Lifesaver Tricks
Sometimes I make a double batch of Make Ahead French Toast, similar to an Easy French Toast Casserole, so I have extras for later. I let the extra slices cool completely then store them in a sealed container in the fridge. The next day you can reheat in a toaster oven on low heat, about three hundred twenty degrees, for five to seven minutes. It brings back the golden crisp while keeping things soft inside.
Another thing I have tried is layering slices with parchment paper between so they do not stick. That way you can grab only the number you need. And if you have leftover maple syrup you store it in the fridge, then microwave a bit for a quick drizzle over your reheated toast. Its like a mini make ahead breakfast hack.
Final Bites and Common Questions
This whole Make Ahead French Toast method saves time for busy mornings or when you want more family fun at the table. You set up the night before if you like, then wake up to pop them in the oven. It feels like a secret trick when the smell fills your kitchen in minutes.
Q What bread is best for really fluffy results I use challah or brioche since they soak up the custard well but still hold shape. Regular sandwich bread works too if its a bit stale.
Q Can I swap milk for non dairy options Sure almond or oat milk works fine, just pick unsweetened versions and adjust sugar if you like it sweeter.
Q Is it okay to freeze extras Absolutely. Lay cooled slices on a tray then freeze until firm. Transfer to a bag and heat from frozen in a toaster oven.
Q How long can I keep pre soaked slices before baking I dont let them rest more than twenty four hours. Any longer and they get too soggy.
Q How do I add more flavor twists You can fold in orange zest or a pinch of nutmeg into the custard mix, or top with cinnamon sugar before baking, its all up to you.
Hopefully these tips help you fall for Make Ahead French Toast just like I did. Remember to play with your heat and timing. That is where all the best flavor lessons are hiding in plain sight.
Make Ahead French Toast
Ingredients
Equipment
Method
- Grease the 9x13 inch baking dish with a little butter.
- Arrange the bread slices in the dish, slightly overlapping them.
- In a large mixing bowl, whisk together eggs, milk, cream, sugar, vanilla, cinnamon, and salt until well combined.
- Pour the egg mixture evenly over the bread slices, pressing down lightly to ensure all the bread is soaked.
- Cover the dish with plastic wrap or foil and refrigerate for at least 6 hours or overnight.
- In the morning, preheat the oven to 175°C (350°F). Remove the dish from the refrigerator and discard the plastic wrap or foil.
- Drizzle the melted butter over the top of the bread.
- Bake for 40–45 minutes, until the top is golden and the custard is set.
- Let cool slightly before slicing and serving.
- Serve warm, topped with powdered sugar, syrup, and fresh fruit if desired.