I never thought a simple treat could spark such a heat obsession until I met my neighbor who is always talking about how even a little extra heat makes flavors pop, I still remember the first time he told me about chasing perfect Maillard browning on a cookies, I had just cracked an egg for my first moonlight cookie attempt and he was right there, twisting knobs on his oven and speaking like heat was some secret language. I grew up thinking cookies were just sweet discs but hearing him geek out about precise heat zones made me curious, I wanted to know if different racks in the oven could change how a batch of moonlight cookie dough would emerge crisp at the edges or soft in the center. That was my spark to dive into this project, I had no clue how deep that heat game really went.
Over the next few weeks I kept baking batch after batch to get that perfect rise and texture, each time focusing on how heat shapes crumb and chew. I learned about caramelization and even tried a slow simmer of butter and sugars before folding them into the beating eggs to make my moonlight cookie stand out. Sometimes I let the dough take a protein rest in the fridge so that gluten would relax and edges would be fluffier. Each time I slid a tray into my oven I felt my neighbor whispering about low and slow methods even though I was chasing quick golden edges. When I finally tasted my tenth moonlight cookie I realized how much difference just five degrees could make, and I knew this recipe deserved to be shared.
This journey taught me that baking is more than combining ingredients, it is about paying attention to how heat shapes every bit of flavor. I want to show you how focusing on temperature and timing can transform a simple dough into a treat that melts just right on your tongue.
Why mastering oven heat matters for the perfect moonlight cookie
Heat in baking is more than just hot air swirling around a tray, it is the force that makes the moonlight cookie come alive. When I crank my oven to the right temperature I am really setting the stage for Maillard browning to kick in, that is the process where proteins and sugars react and create those golden brown spots. Then there is caramelization when the sugars at the edge melt and darken adding crisp notes and deep flavors. If the oven is too cool then the cookie stays pale and doughy, if it is too hot the outside burns before the center is set, so we have to find that sweet spot for our moonlight cookie.
Understanding heat means more than reading numbers on a dial, it means watching the tray as it bakes, noticing how edges rise and the center glistens before it firms. I learned that a slow simmer of melted butter with sugar before adding it can help control temperature spikes, and that giving the dough a good protein rest in the fridge makes the gluten relax so each moonlight cookie stays tender. Some bakers swear by low and slow ovens to pull moisture from the dough for crisp edges, while others bump up heat at the end for an extra glow. Learning these tricks helped me make each moonlight cookie exactly how I like it.
My pantry lineup for crafting each moonlight cookie
When I look into my pantry before making a batch of moonlight cookie dough I want to make sure I have the basics that let heat work its magic. Flour gives body and structure so that every moonlight cookie holds its shape while baking. Sweeteners like sugar and brown sugar bring caramelization and chew. A pinch of salt balances sweet notes and enhances Maillard browning, and a bit of baking soda helps the dough spread just right under heat. I never skip vanilla extract for its warm aroma that lifts each moonlight cookie to another level.
- All purpose flour about two cups for structure
- Granulated sugar half a cup to help crisp edges
- Brown sugar half a cup for chew and caramel notes
- Butter softened for smooth mixing
- Egg at room temperature to bind ingredients
- Vanilla extract a teaspoon for flavor depth
- Salt a pinch to balance sweetness
- Baking soda a teaspoon so cookies rise evenly
I also keep my oven thermometer handy, that way I can confirm the temperature and get consistent results. Having chilled dough ready gives me a chance to let the ingredients settle during a protein rest before the heat transforms them. When I have all these items I feel ready to bake the perfect moonlight cookie every time.
Pre baking moves to nail that moonlight cookie
I start by letting the butter sit at room heat so it softens but does not melt. This step lets me get an even blend of butter and sugar which impacts caramelization in the oven when the heat kicks in, that also lets each moonlight cookie develop color slowly. While that happens I sift the flour with baking soda and salt in a large bowl. I do this so every moonlight cookie has a light crumb and avoids any lumps of chemical leavener that can create holes or uneven texture.
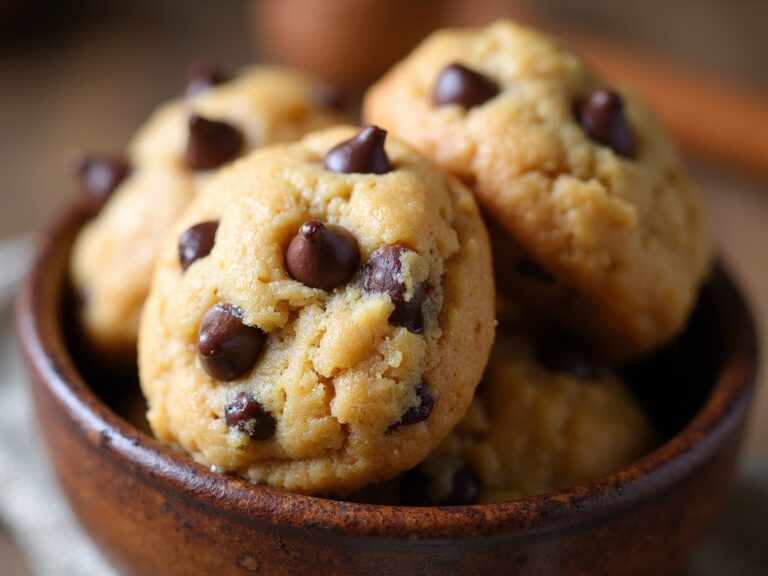
Next I crack my egg into a small bowl to make sure it is good and at the same temperature as butter. Then I whisk in vanilla extract before adding it to the sugar butter mix. I fold in dry ingredients slowly so I do not over mix. Overworking the dough makes strong gluten and can lead to a tough moonlight cookie rather than a chewy tender treat.
Once the dough comes together I scoop it into mounds on a lined baking sheet. I chill those mounds in the fridge for at least thirty minutes as a protein rest so the gluten can relax and the dough will not spread too thin under heat. That pause also lets flavors meld and makes each moonlight cookie bake evenly.
When the kitchen smells like warm comfort
The moment my moonlight cookie dough hits the oven the smell of butter and sugar begins to billow through my kitchen. I breathe deeply as notes of vanilla swirl and edges start to toast. That aroma tells me that Maillard browning and caramelization have begun. I can imagine tasting the first warm moonlight cookie right away. It is a signal to peek but not open the door too soon. I am learning to read that aroma like a cue, knowing my timing is right.
As the moonlight cookie fragrance builds the scent deepens, it turns richer with toffee hints and a hint of warm vanilla. When I catch that specific sweet nutty perfume out of the oven I know it is nearly time. I can almost taste the crisp rim and soft center before I even pick up my moonlight cookie treat. That smell makes the wait worth it.
Peeking in at the moonlight cookie halfway
When I slide back the oven door halfway through the baking time I set my timer and work quickly to trap heat. It is easy to let too much hot air out, but seeing the cookies rise and glisten is worth a brief peek. I look at the moons of pale dough to see if they have started to firm at the edges. If they look too flat I know I need to bump up heat for a few minutes. That little move helps my moonlight cookie edges brown and caramelize without overcooking the center. I can see the potential of this moonlight cookie batch.
Sometimes I notice some spots are darker than others, that is a sign that my oven may have hot spots or my tray might need to rotate. I swap the sheet from front to back and nudge the rack one level down if the tops are browning too fast. This low and slow management keeps every moonlight cookie consistent. By the end of this midway check I am confident that each cookie will have a golden rim and a pillowy center when I pull them out. That way each moonlight cookie comes out just right.
Timing my bite for the perfect moonlight cookie
After a full bake I let my cookies rest on the tray for just a minute, that brief pause helps them finish firming up while still warm. This is when I can press the center gently to test softness. If it gives a little and springs back, the moonlight cookie is ready to slide onto a rack. Too jiggly means another minute in the oven, too firm means I risk a dry crisp biscuit instead of the tender bite I want from each moonlight cookie.
Next I move the cookies to a cooling rack, letting air flow under them for even texture. While they cool I jot down the time and temperature I used that day, that way I can refine my notes next time. In my log I mark which cookies had the best chew and which tasted sweeter. Tasting around with these probe notes helped me dial in the final moonlight cookie temperature for my ideal result. Now I know when to stop the bake for every moonlight cookie next time.
Dressing up the moonlight cookie for friends
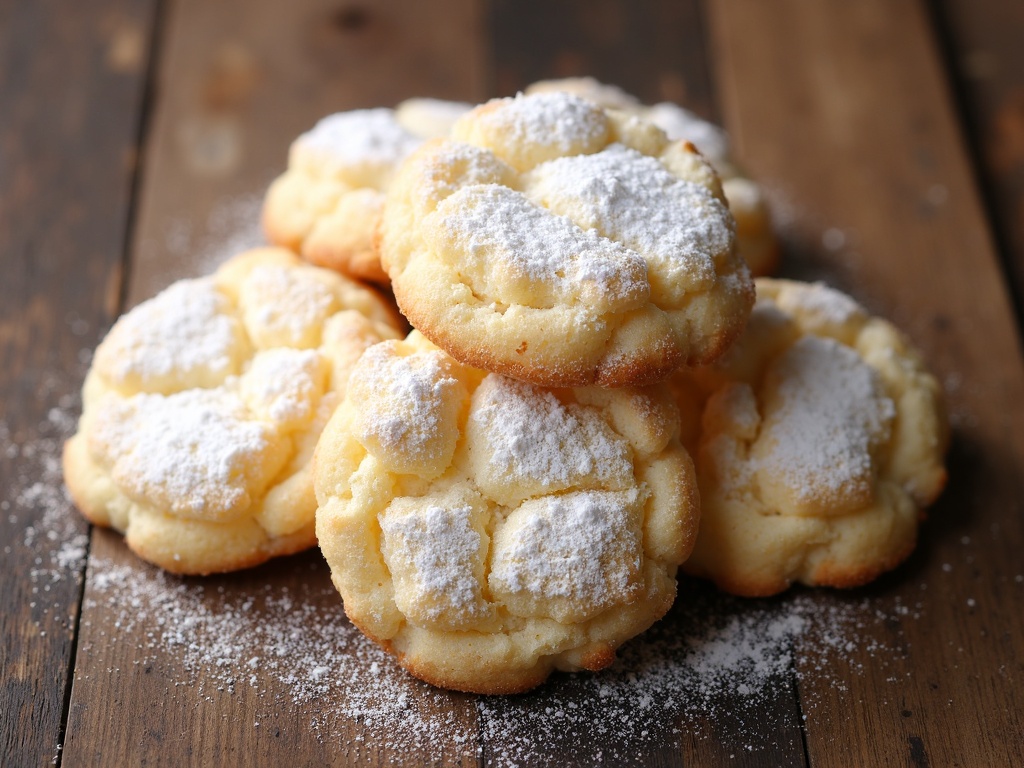
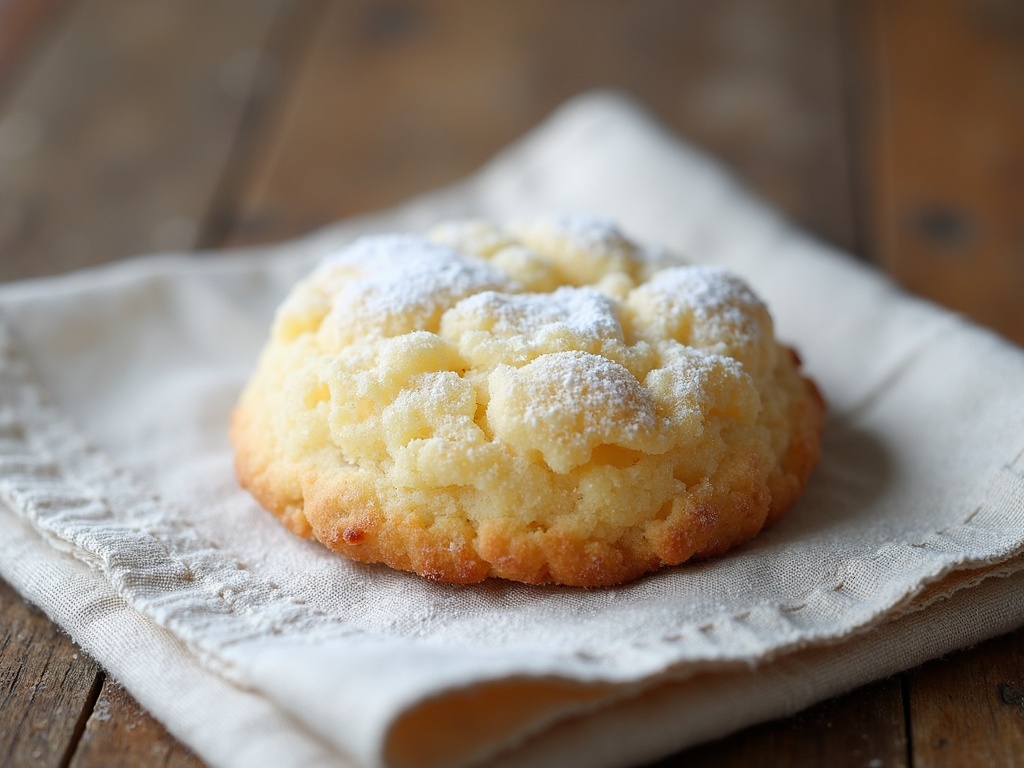
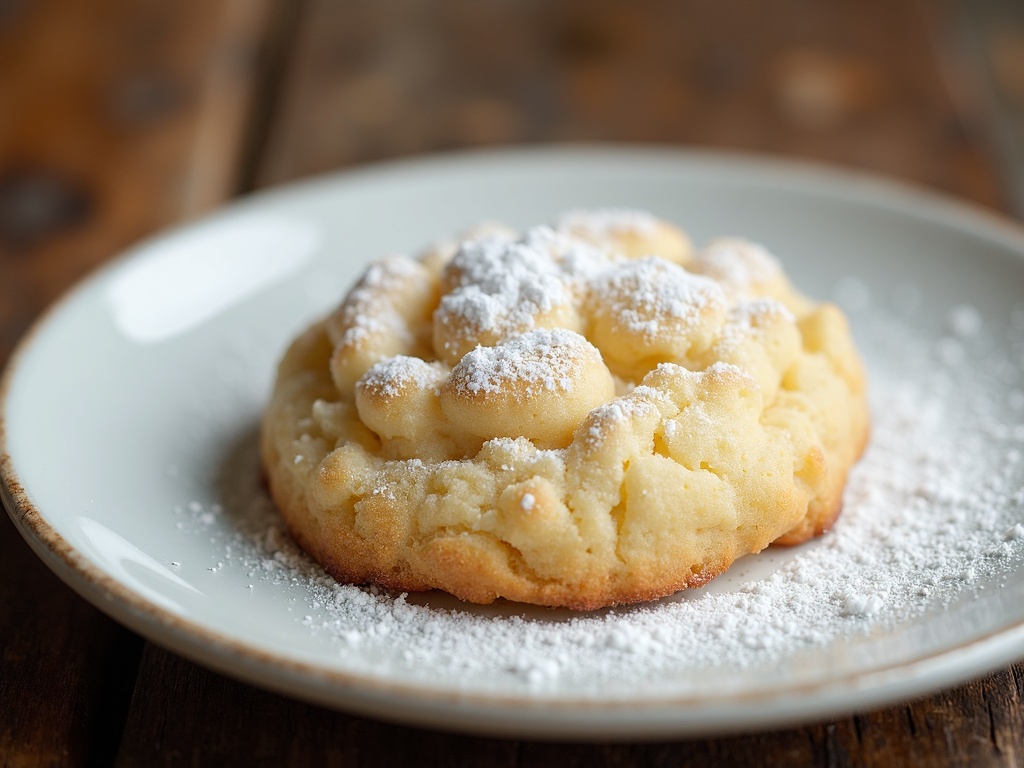
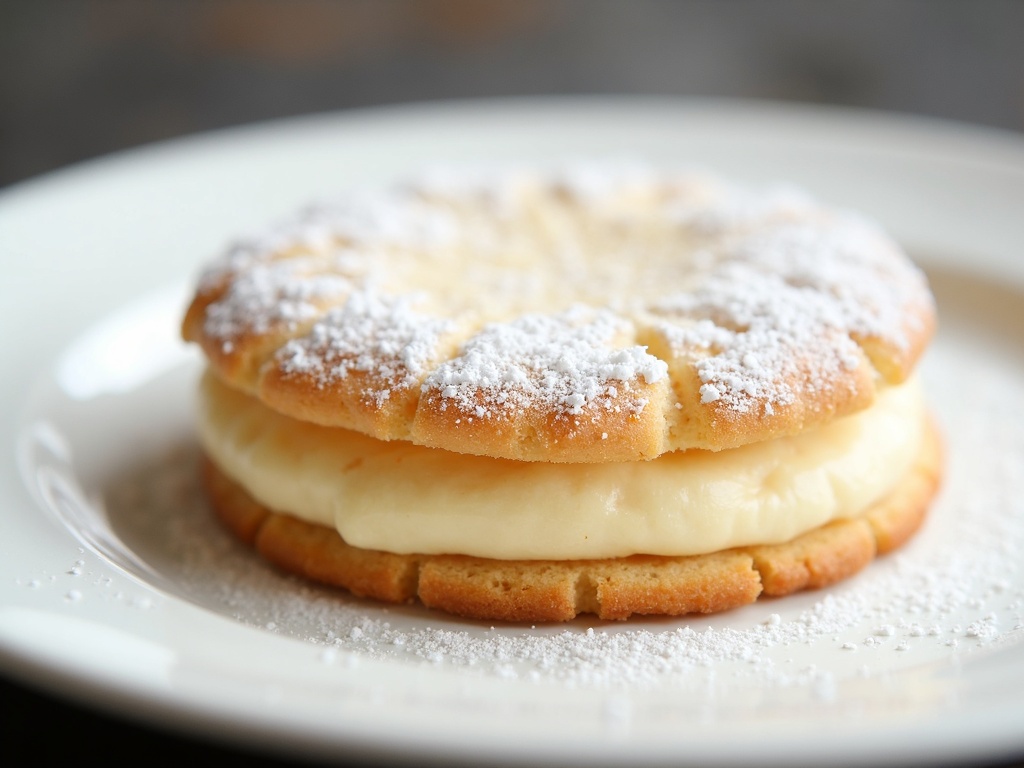
When my moonlight cookie batch is cool I pick the best ones for plating. I like to place them on a wooden board lined with parchment, that way the warm tones of the board echo the golden hues of the cookie. A light dusting of powdered sugar adds visual contrast and a whisper of sweetness. Each moonlight cookie looks fancy but it is simple to arrange.
For a party I add small bowls of dipping sauce like melted chocolate or warm caramel alongside the cookies. I drizzle a little sauce over a few of the moonlight cookie half moons for a playful look. Fresh berries or a sprig of mint give a pop of color and lift the presentation. Watching my neighbors reach for a moonlight cookie from the plate always makes me smile.
Saving and reviving extra moonlight cookie
Sometimes I bake too many moonlight cookie mounds and get extras. Instead of leaving them to go stale I store them in an airtight container with a slice of bread that adds moisture back. Within a few hours the cookies soften while staying crisp at the edges. That trick brings frozen or day old cookies back to life and keeps each moonlight cookie tasting fresh.
For a quick dessert hack I reheat a leftover moonlight cookie in a toaster oven on low for a minute or two to warm the center. I set them on a wire rack so heat surrounds the cookie evenly. Then I top each moonlight cookie with a scoop of ice cream drizzled with chocolate syrup. This simple move upgrades leftover treats and brings smiles every time.
Final scoop plus question answers
Baking the perfect moonlight cookie is all about respecting heat and understanding how temperature shapes texture and flavor. From mastering Maillard browning to letting the dough take a proper protein rest, each step matters. Chilling dough before baking gives the cookies structure so they do not spread too thin. A slow simmer of butter and sugar ahead of time can deepen caramel notes that make the edges crisp and the center gooey. With just a few tweaks and practice you will have your own signature moonlight cookie that wows everyone.
Q What oven temperature works best for a moonlight cookie
A I bake my cookies at 350 F because it offers that balance of low and slow heat that brings out caramelization without burning the edges or underbaking the center.
Q Do I need to chill the cookie dough and for how long
A Yes chilling is key. I chill my dough for at least thirty minutes during the protein rest so the gluten relaxes and spread is controlled for each moonlight cookie.
Q Can I freeze the dough or baked cookies
A You can freeze both. Scoop dough mounds onto a tray and freeze solid before transferring to a bag. To bake frozen mounds simply add a minute or two to the baking time.
Moonlight Cookie
Ingredients
Equipment
Method
- Preheat your oven to 175°C (350°F). Line a baking sheet with parchment paper.
- In a large mixing bowl, cream the softened butter and granulated sugar together with an electric mixer until pale and fluffy, about 2-3 minutes.
- Beat in the egg and vanilla extract until combined.
- In a separate bowl, sift together the flour, baking powder, and salt.
- Add the dry ingredients gradually to the wet mixture, mixing until just combined. Be careful not to overmix.
- Scoop rounded teaspoons of dough and gently roll into balls. Place them 2 inches apart on your prepared baking sheet.
- Flatten each ball slightly with your fingers or the back of a spoon.
- Bake for 10-12 minutes, or until the edges are just starting to turn golden and the tops remain pale.
- Allow cookies to cool on the sheet for 2 minutes, then transfer to a wire rack to cool completely.
- Once cool, dust lightly with powdered sugar for an ethereal, moonlit look.