One afternoon you thought you had pizza dough locked down until it flopped in the oven. The crust stayed flat and pale like a sad pancake. You poked at the dough thinking maybe yeast was just too lazy. Then you realized you never kept a sourdough starter alive. That misstep sparked a fresh plan.
Next morning you whipped up a bit of flour and water juggling them like chemistry class. You fed your baby culture twice a day and watched tiny bubbles form. Suddenly you had a living mix that smelled tangy and smelled kinda sweet at the same time. That was when real fermentation art kicked in with that dough.
You learned this sourdough starter process relies on proper protein set so gluten strands get strong. Later you saw how caramelization of the crust comes from sugars made in the ferment. You even tried a slow simmer sauce on the side hoping the tang might pair with your grilled veggies. It all sounded nerdy yet yall agreed it was sheer delight dang.
science wins big
- you count bubbles as proof of good fermentation it turns flour and water into lively dough crossing species of bacteria and yeast in sourdough starter
- you can tweak acidity by feeding schedule this shifts ph levels to control bacterial growth and protein set so your crumb stays soft not gummy
- slow fermentation like an overnight rest lets flavor deepen right before you shape the loaf running science on your countertop and tests gluten strength dang
- higher hydration rates mean more open crumb but watch your handling you might need stretch fold technique to manage sticky dough
- that sweet crust result comes from caramelization you get golden edges and flavor bangs when oven temp spikes and sugars break down
- steam in first bake minutes traps moisture boosting oven spring yall see that rise and set your loaf like a champ
- you track time temp water ratios and you learn conversion from grams to cups though scale rule is tough but worth it
- cooling stage matters rest cools crumb gradually letting residual heat finish protein set that means clean slices yall will love the texture
ingredient lineup and duties
here is your crew in the mixing bowl and why you need each one when you build a sourdough starter loaf
- all purpose flour gives structure it supplies proteins that build the gluten network so you get proper protein set and chew when that crust crisps up
- bread flour steps in with more protein for a stronger dough texture helping your crust hold those tangy notes from the sourdough starter
- water is not just filler it hydrates flour feeding yeast let fermentation roar it also loosens dough making it easier to knead spritz steam later
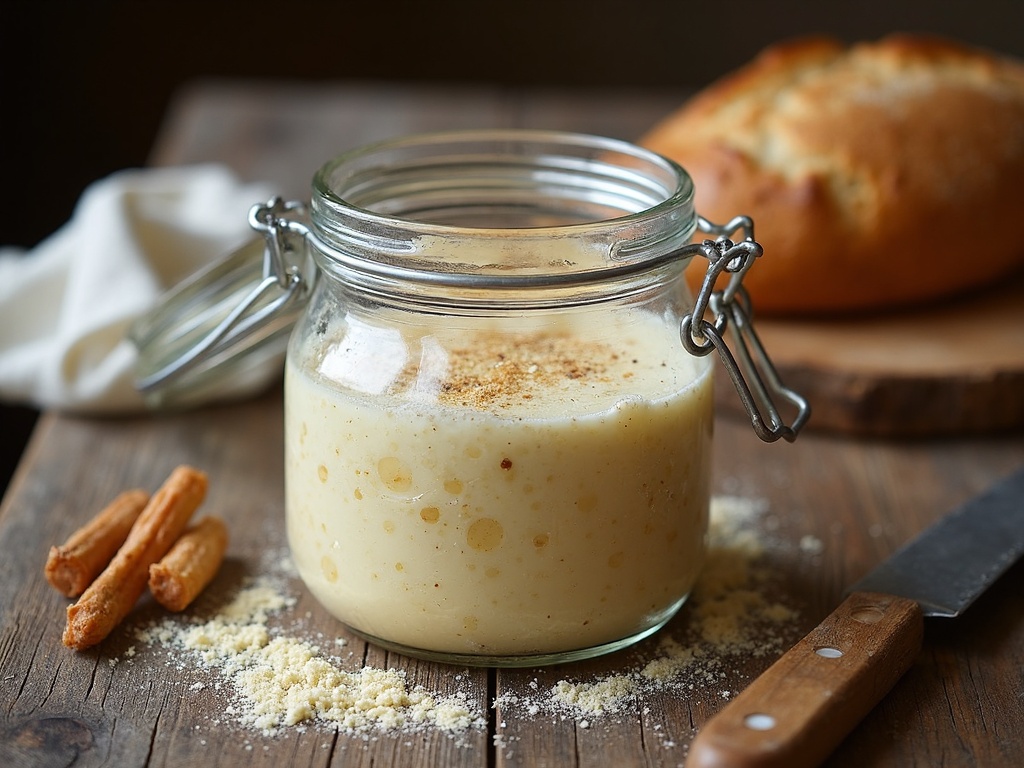
- your sourdough starter is the live hero wild yeast and lactobacillus bacteria mingle in it to create tangy flavor and leaven the loaf without commercial yeast
- salt might seem basic but it controls fermentation pace and strengthens gluten strands locking moisture and flavor it ensures your crumb sets right under the crust
- a touch of sugar or honey isnt required but yall might like how it feeds yeast bumps fermentation and boosts caramelization so your browning pops
- extras like seeds nuts or herbs can add texture color and flavor they dont change science but they give personality to your loaf and crumb
getting ready for action
you scoop flour water and a dollop of sourdough starter into a bowl stirring until no dry bits remain dont worry if dough feels shaggy you want that for gluten to link then you let the mixture autolyse it sits thirty minutes so flour enzymes start breaking starch feeding yeast you gotta let that waiting time happen dang so yall see texture improve
after autolyse you begin the first fold series on the countertop lightly wetting your hands you grab one edge stretch it up then fold it back over the dough repeat along all sides four to six times this builds tension in strands boosting protein set its kinda like giving dough a workout and youll see the dough pausing and pulling back
next you tuck dough into a greased container cover with cloth or lid and slide it into the fridge yall this slow rest can last twelve to eighteen hours literally a slow simmer or chill moment during that time acidity climbs and flavor builds you dont rush it cause youre fine tuning the chemistry before bake day dang heck
that first slice shines
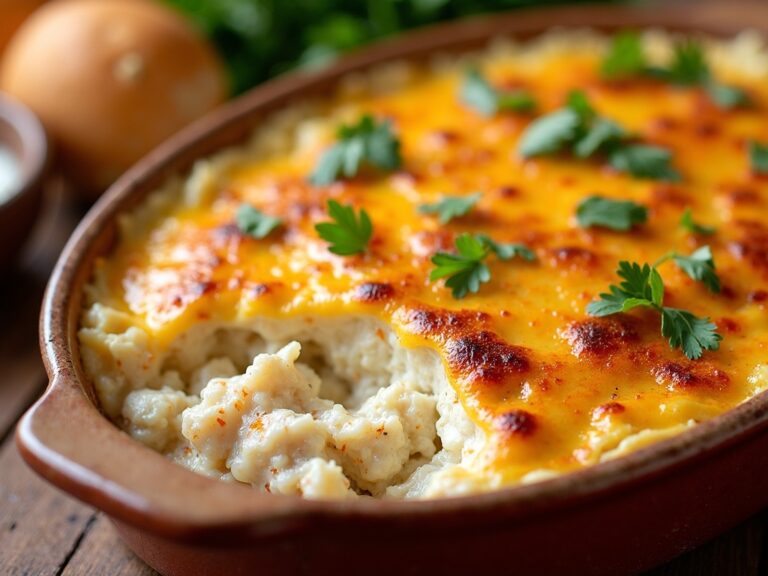
you pull the loaf from the oven its hot to the touch smelling like warm cereal and burnt sugar edges you let it cool a bit cause yall know hot crumb sticks to knife then you slice and see an open crumb with little holes shining in the light showing that sourdough starter jelly worked wonders dang its a sight
that first bite is chewy crisp sweet with tang all at once kinda a flavor explosion yall you feel protein set softly yielding to your bite as caramelization adds that golden crunch you grin cause the taste test shows every science hack paid off heck its like the best bread youve ever made for real ya dang
heat transforms dough
you heat your oven to five hundred degrees farenheit if yall got a steel or cast iron vessel preheat that too the idea is to trap heat and build steam fast when your kettle is screaming hot you transfer dough in quicker than you can say bake dont kid id you its a race against cooling heat dang heck
to score yall drag a sharp blade across the top in one confident slash this guides the oven spring and makes a pattern to flex your style then you mist water inside or throw ice cubes on the bottom tray for steam you want moisture hugging crust so caramelization and crisping happen just right dang it heck for real
lower temp to two fifty after fifteen minutes yall this prevent burning top while letting center bake through you keep watch through the window maybe flip pan if one side browns faster cause ovens vary total bake runs about thirty to forty minutes until internal temp hits one ninety or crumb sounds hollow on tap dang heck for real
tiny details for big bread wins
using a kitchen scale may seem nerdy but yall get way more consistent dough weights that shape and bake evenly volume scoops change when flour packs different so grams rock dont ignore water temp too and cold water slows fermentation while warm water speeds it record room temp and humidity each bake that helps tweak times and hydration rates dang this tip really helps yall heck it may save your loaf
pay attention to that dough windowpane test yall you gently stretch a bit of dough until you see a thin film if that film tears quick you need more folds or longer bulk ferment test elasticity and strength not just look at time yall can even jot sticky notes on your container with mix and fold times for reference small notes help you nail consistency each loaf
dress up your loaf for show
slice a warm loaf into thick slabs then butter them gently using room temperature spread that melts into crumb yall can arrange slices in a fan or stack on a wooden board for that rustic look sprinkle flaky salt or herbs on top just before serving so flavors pop add a drizzle of olive oil if you want extra slick mouthfeel
for a platter try pairing sourdough starter slices with cheese cubes grapes and nuts add to a charcuterie board vibe you might serve tomato basil bruschetta or smashed avo on toast yall sweet options include cinnamon sugar butter spread or fruit compote spooned over heck even an egg over easy looks dang good on buttered sourdough starter toast
switch it up for different vibes
if you like a more open crumb try boosting hydration up to eighty percent water to flour by weight youll need extra folds and a gentler touch cause that wet dough is slippery yall might see bigger holes and lighter crust from more moisture just record every tweak so you dont second guess what worked
swap out some all purpose for rye or whole wheat and you add more flavor complexity but lose a bit of rise dark flours need more hydration yall or crumb gets dense you also can mix rice or spelt flour for fun texture each swap shows how sourdough starter interacts with flour types to shape taste and feel
yall can play with fermentation times too shorter bulk ferments give more sour bite while long slow fridge rests mellow flavor heat changes matter higher room temp speeds action lower temps slow yall down add seeds nuts garlic or olives at the end of folds for mix ins these tweaks let you own the process
keeping your loaf fresh longer
to store a loaf at room you want a paper bag that breaths not tight plastic this prevents crust sog while keeping crumb soft finish cool completely first or condensation forms you might keep it on the counter for two days if your air is dry after that yall see staling start and crumb gets firm if you live in humid places wrap it in cloth and change the bag daily dang
you can freeze extra slices on a tray first then bag them in ziploc or freezer safe pouch thaw at room for a few hours or toast straight from frozen yall saves time and keeps crumb nearly fresh avoid fridge storage for long yall its too cold will dry crumb faster freeze is best when crumb is ripe dang dont forget to mark dates so you know whats old heck
last slice wisdom
making sourdough starter bread takes patience and a bit of science in your kitchen labs you learned about protein set how gluten strands form and how slow simmer style fridge rests build tang and clear crumb structure each step is a mini experiment from bubble counting to scoring patterns dang its rewarding when you pop that crust and smell all those baked notes
yall can tweak water flour temp and timing every bake youll dial in the feel you want no two loaves are identical that’s part of the fun keep notes and embrace the flaws cause that’s how you turn science into real flavors heck you may even teach friends your dough secrets before you know it dang for sure
answers to your baking curiosities
- why didnt my dough bubble you might not have fed your sourdough starter enough or water temp was too cold try warmer water wait longer bulk ferment and repeat feed schedule every twelve hours until bubbles appear actively dang yall
- what oven temp works best you want a hot start around five hundred farenheit then lower the heat to two fifty after initial steam period this trick gives great oven spring balanced bake and proper caramelization on that crust yall
- can i skip fridge rest ditching cold proof makes dough easier to shape fast but means less flavor depth and weaker protein set if youre in a hurry rest at room a bit longer fold more often to mimic slow cold ferment yall
- why is crumb gummy gummy crumb tells you dough didnt bake fully or hydration too high check internal temp reaching at least one ninety degrees and cool loaf fully before slicing adjust water by small amounts to tame stickiness dang
- how to keep crust crisp yall want cool stored bread in a cloth lined basket not plastic if crust softens reheat at three hundred fifty briefly or toast slices crisp is all about moisture control and heat exposure so steam first then vent after baking
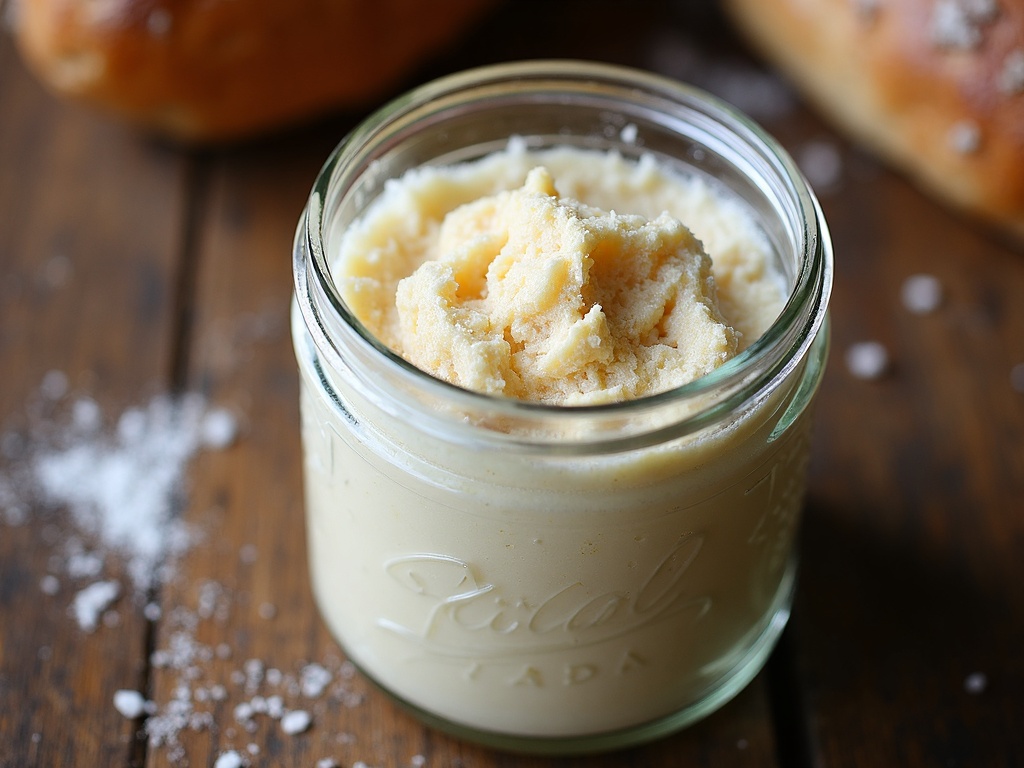
Sourdough Starter
Ingredients
Equipment
Method
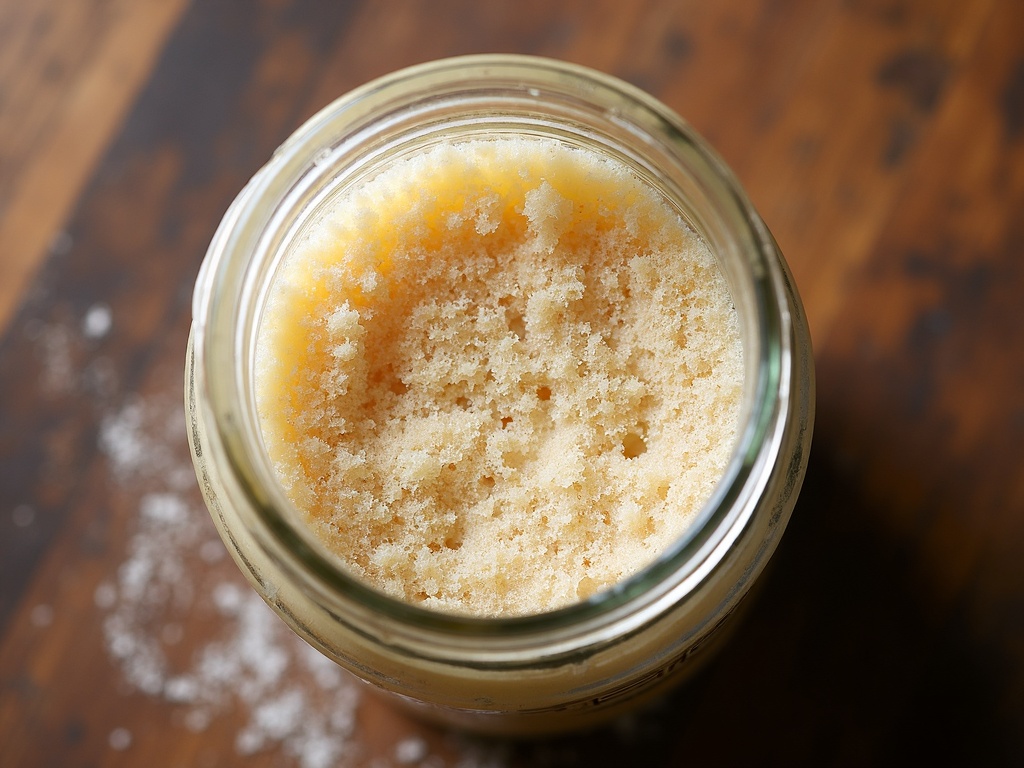
- In your jar, mix 60 g whole wheat flour and 60 g water. Stir well until fully incorporated; scrape down the sides. Cover loosely and let sit at room temperature (21-24°C/70-75°F) for 24 hours.
- On Day 2, discard about half (60 g) of the starter. Add 60 g all-purpose flour and 60 g water to the remaining mixture. Stir well, scrape down sides, cover, and let rest another 24 hours.
- On Days 3 to 5, repeat the process: discard half of the starter, then feed with 60 g flour and 60 g water. Cover and let rest for 24 hours.
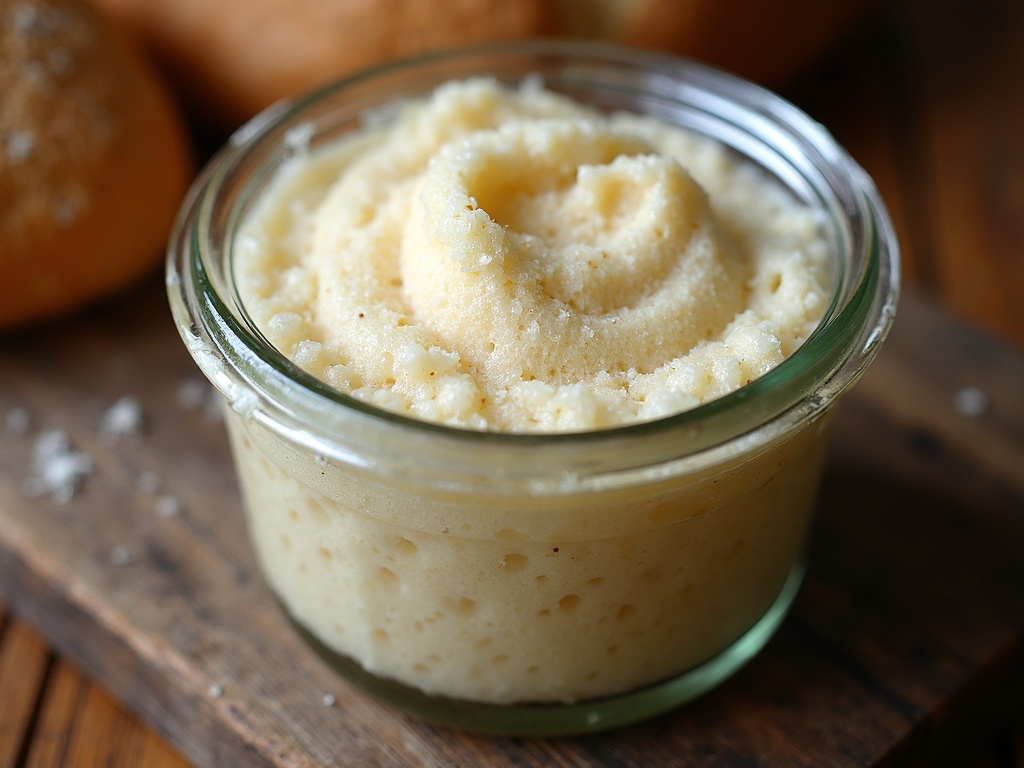
- By Day 4 or 5, check the starter for bubbles and a pleasant tangy smell. It should double in size within 4–6 hours after feeding.
- When your starter reliably bubbles and doubles in size within 4–6 hours of feeding, it’s ready to use for sourdough baking. Store in the fridge if not baking daily, and feed once a week.