Getting that light bulb moment
When I fired up the oven one chilly afternoon I thought I was just making some quick side for dinner but dang it turned into something way more fun. I grabbed stale baguette bits tossed them in a melted butter bath with minced garlic and parsley flakes. That smell had me kinda giddy right off the bat.
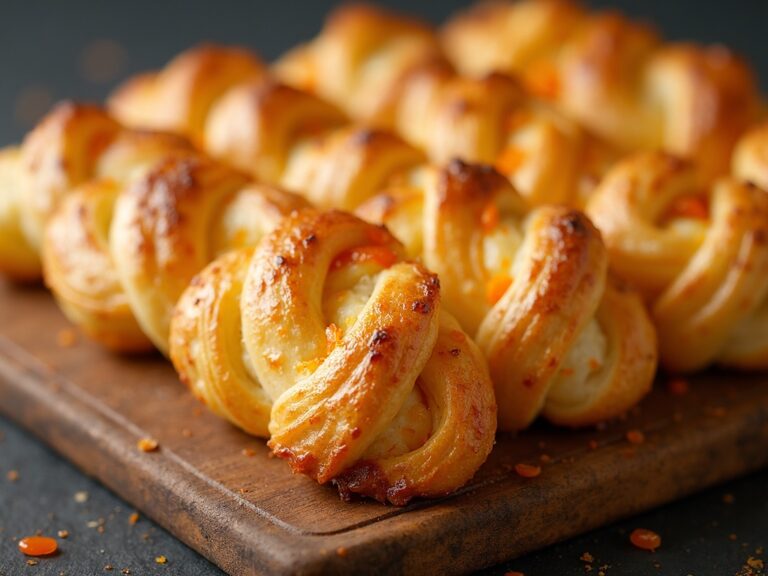
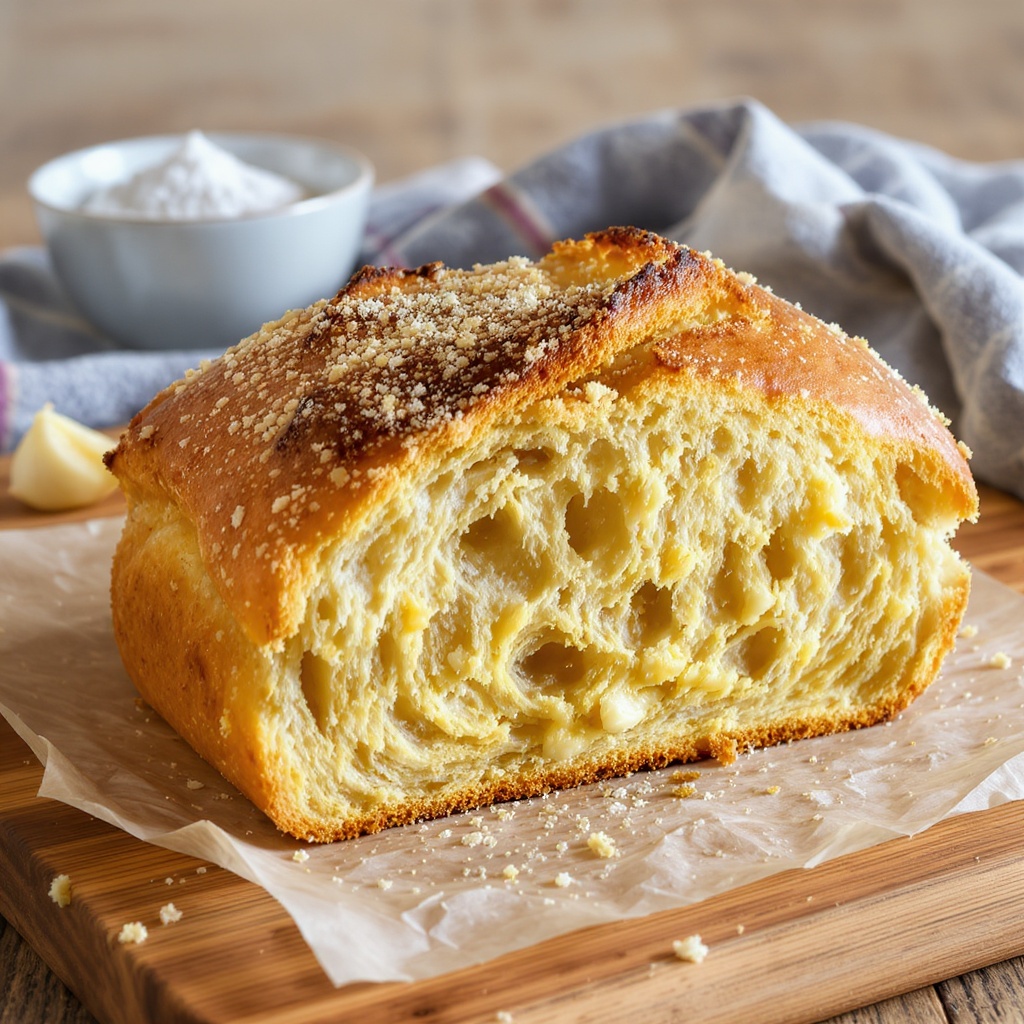
The crust went under heat till it got that perfect golden caramelization then I spotted a few protein set bubbles forming in the butter as it clung to the surface. My neighbor y’all shot over cause that aroma was a heck of invitation. I was grinning cause this homemade garlic bread recipe was already tasting like a goal.
As slices piled up on the tray the edges got crisp the center stayed chewy and that garlic infusion hit different. I couldn’t help but test one right then and there with a slow simmer tomato dip on the side. Making this homemade garlic bread recipe more than just a side dish it was a whole vibe.
Protein power and browning fun
- When butter meets garlic the heat triggers a flavor explosion through a Maillard reaction that jumps taste buds, helping your homemade garlic bread recipe pack more punch than plain toast
- Caramelization of bread edges happens around 170°C and that helps build a golden hue and crunch that y’all will totally dig
- Protein set in melted butter gives body to that emulsion coating crisp corners while sealing in moisture for a soft chewy crumb
- Slow simmer of garlic in butter tames raw sharp notes letting sweet roasted garlic shine and spread evenly
- Toasting time and temp control gluten development so you get that perfect chew that locks in garlic butter goodness
- Using room temp ingredients helps blend garlic oil into butter quicker giving you an even spread without globs
- Adding a sprinkle of herbs at the end after pulling from oven locks in aroma boost right before serving homemade garlic bread recipe that wows
Superstar ingredient lineup
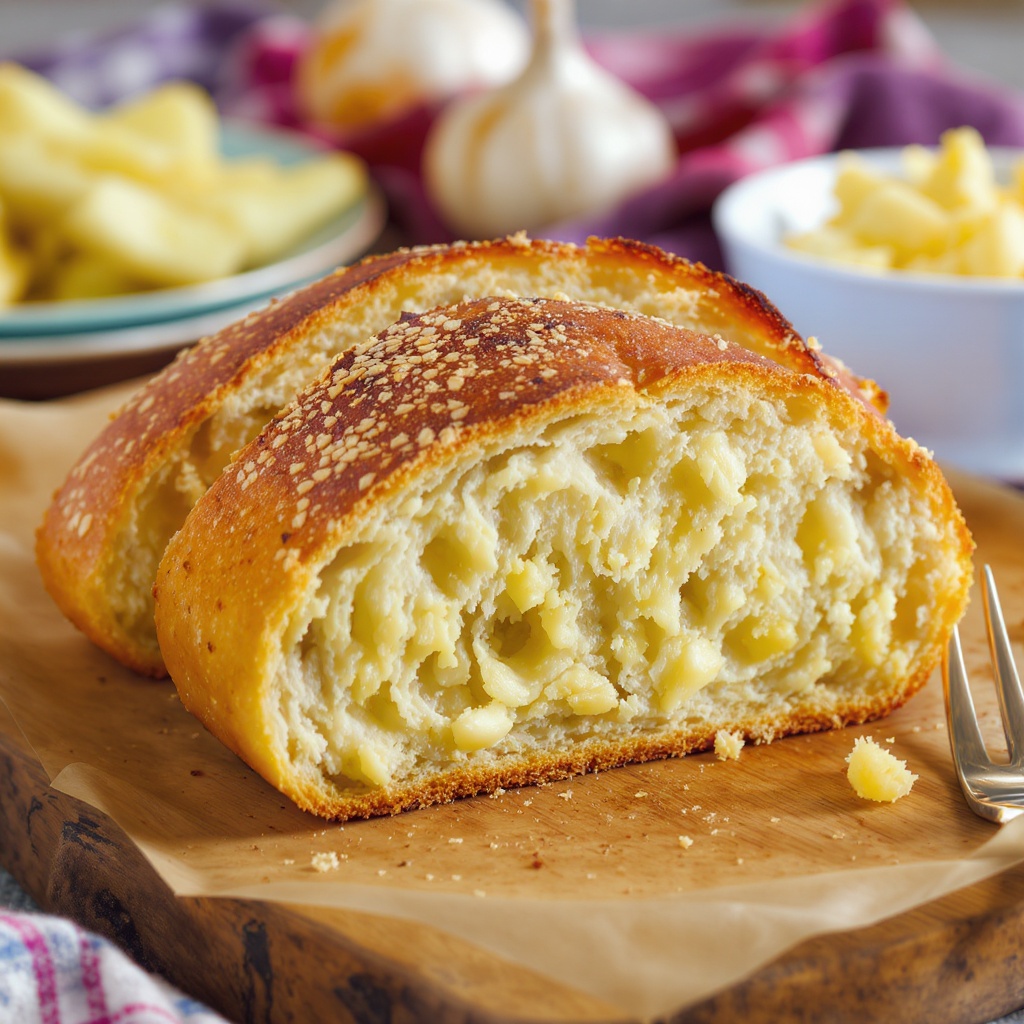
- Stale baguette slices they toast better since reduced moisture helps caramelization at the edge while keeping center chewy for that homemade garlic bread recipe signature bite
- Fresh garlic cloves give pungent garlic infusion mincing or grating helps break cell walls for quick slow simmer in melted butter
- Unsalted butter at room temp lets you watch protein set into a smooth emulsion so it clings to bread better
- Flaky salt helps balance sweetness from caramelization of garlic and bread crust giving each crunch a savory pop
- Chopped parsley or chives for color aroma lift adding after toast brings a fresh herb aroma punch
- Grated parmesan or mozzarella optional for cheesy spin on homemade garlic bread recipe packing extra gooey texture
- Cracked black pepper and red chili flakes for heat boost y’all can dial in per taste test
Getting everything set up
First make sure your oven is ready and preheated to about 200C you want a hot environment for that caramelization to kick in fast and crisp up edges. Slice your baguette at a slight angle for more surface area then set aside.
Next you mince or press garlic real fine then melt unsalted butter in a small pan at low flame letting garlic slow simmer in it. This tames raw sharpness and brings out sweet caramel notes. Stir constantly so you avoid any burnt bits.
Finally line a baking sheet with parchment or foil then blend garlic butter with a pinch of salt chopped parsley and cracked pepper. Let the protein set a bit before brushing each slice evenly so you get a smooth coating on every piece of bread.
First bite vibes
When you pull that tray from the oven and plop a slice on a plate y’all gotta admire the color first it’s like caramel gold on edges then soft goo in the middle. The scent is dang irresistible.
You take that first bite and hear a light crack then feel a pillowy center with garlic infusion hitting all corners of your tongue. That mouthfeel is what every homemade garlic bread recipe dream is made of it’s pure satisfaction.
Oven action and crisp craft
Slide your prepped slices into the preheated oven placing them on the top rack so heat hits the crust directly. Keep an eye cause at around five minutes you’ll start seeing those buttery bubbles form a light protein set on surface.
Rotate the pan midway for even color and watch those edges shift from pale to golden brown through caramelization. Don’t wander too far cause seconds can turn golden to burnt real quick and nobody wants that.
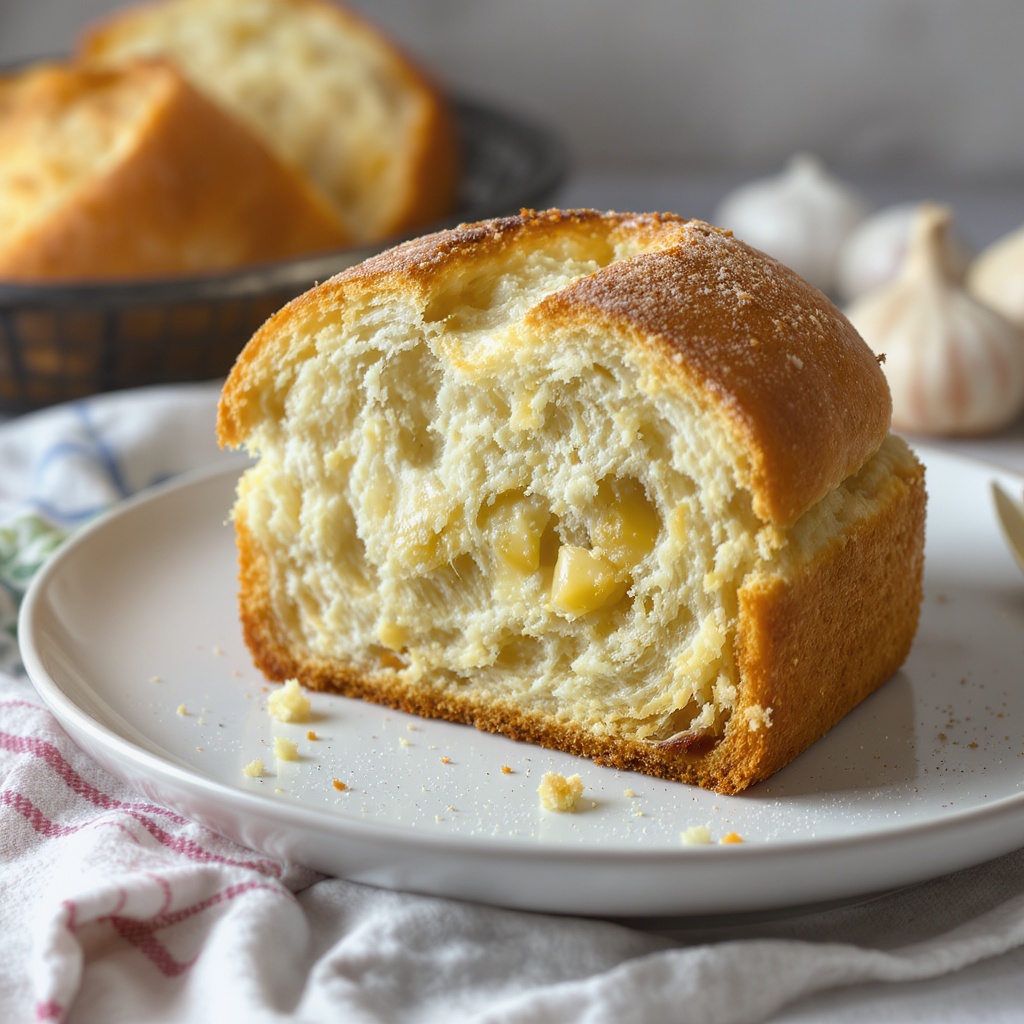
Once they’re done pull them out and let sit a minute this resting helps flavors settle and the crust crisp up further. Serve warm so that cheesy pull if you added cheese is at peak gooey perfection.
Flavor science cheat sheet
Tracking temp and time is key you want the crust just under burnt and center still soft that’s a sweet spot around 200C for 8 to 10 minutes. Too hot or too long you lose chew.
Butter and garlic mixture needs a slow simmer not a furious boil this lets sulfur compounds in garlic mellow and sweeten. Too much heat early on can scorch and leave a bitter taste.
Protein set happens when melted butter proteins realign under heat sealing moisture in crumbs while letting fats coat surface. That creates a barrier you get that perfect outside crunch with a pillowy inside y’all will love.
Serve it up pretty
Line slices on a wooden board or rustic tray fanning them out so color gradient shines. Sprinkle a few more herbs on top for a fresh green pop that contrasts the golden crust.
Add a small bowl of tangy tomato dip or pesto for dunking that slow simmer garlic flavor pairs insanely well with acidic notes. Guests will dive right in cause it looks so inviting.
Garnish with extra grated cheese or a dust of paprika for color and depth you can even drizzle a bit of olive oil for sheen and mouthfeel boost.
Mix and match tweaks
If you’re feeling wild try swapping parsley for basil or oregano for a Mediterranean twist that bright green hit can shift flavor completely. A quick sprinkle of smoked paprika adds a subtle fire.
Want extra heat toss in chopped chili or a dust of red pepper flakes before toasting. That carries through caramelization giving a spicy crunchy finish that wakes up the palate.
For garlic diehards double the cloves or stir in roasted garlic paste just after toasting so you get a layered garlic infusion no matter how you slice it y’all can adjust per taste test.
Keep it fresh info
Once cooled store leftover slices in an airtight container or zip bag letting them cool fully first to avoid steam softening crust. They keep well at room temp for a day.
For longer life freeze them laying flat in a single layer then toss in a freezer bag. When ready toast straight from frozen at 180C till warmed through and crisp.
Reheat in a hot pan or oven instead of microwave y’all preserve crunch by avoiding steam build up you get that fresh toasted vibe back each time.
Last crumb thoughts
Anyone can nail this recipe with a few simple moves and a dash of science flair understanding caramelization protein set and slow simmer lets you control taste texture every single time. You’ll never look at garlic bread the same.
So next time you need a dang good side or snack pull out this homemade garlic bread recipe impress your people and geek out over each golden crispy chew.
Geek questions answered
- Why does the crust get that golden color question mark the surface sugars in bread brown through caramelization when heated above 160C creating that tasty golden crust you love
- How come butter clings so well to the bread question mark as melted butter cools proteins realign called protein set forming a thin layer that sticks to surface and seals moisture
- What makes garlic taste sweeter when cooked question mark slow simmer of garlic in butter breaks down harsh sulfur compounds turning them into sweeter tasting molecules through mild heat
- Can I use other breads question mark yeah y’all can try ciabatta or focaccia but moisture content and density shift cooking time and crispness consider that when you bake
- Why no microwave for reheating question mark microwaves trap steam making bread soggy ovens or pans keep crisp by letting moisture escape as steam
- Will herbs survive the heat question mark adding fresh herbs after toasting preserves their aroma and color if baked too long they can wilt and lose vibrancy
Homemade Garlic Bread Recipe
Ingredients
Equipment
Method
- Preheat your oven to 200°C (400°F).
- Slice the baguette in half lengthwise, then cut into 4 pieces to make 8 pieces total. Arrange the pieces, cut side up, on a baking sheet.
- In a small mixing bowl, combine the softened butter, minced garlic, parsley, salt, and black pepper. Mix until well blended.
- Evenly spread the garlic butter mixture over the cut sides of the bread. Use a pastry brush or the back of a spoon to cover all surfaces.
- If using, sprinkle grated Parmesan cheese evenly over the buttered bread.
- Place the baking sheet in the preheated oven. Bake for 12–15 minutes, or until the edges are golden and the butter is bubbly.
- Remove from oven and let cool for 2–3 minutes. Slice if needed, then serve warm.
- For extra crispy bread, broil for an additional 1–2 minutes—but watch carefully to avoid burning.