Why you will love making mochi
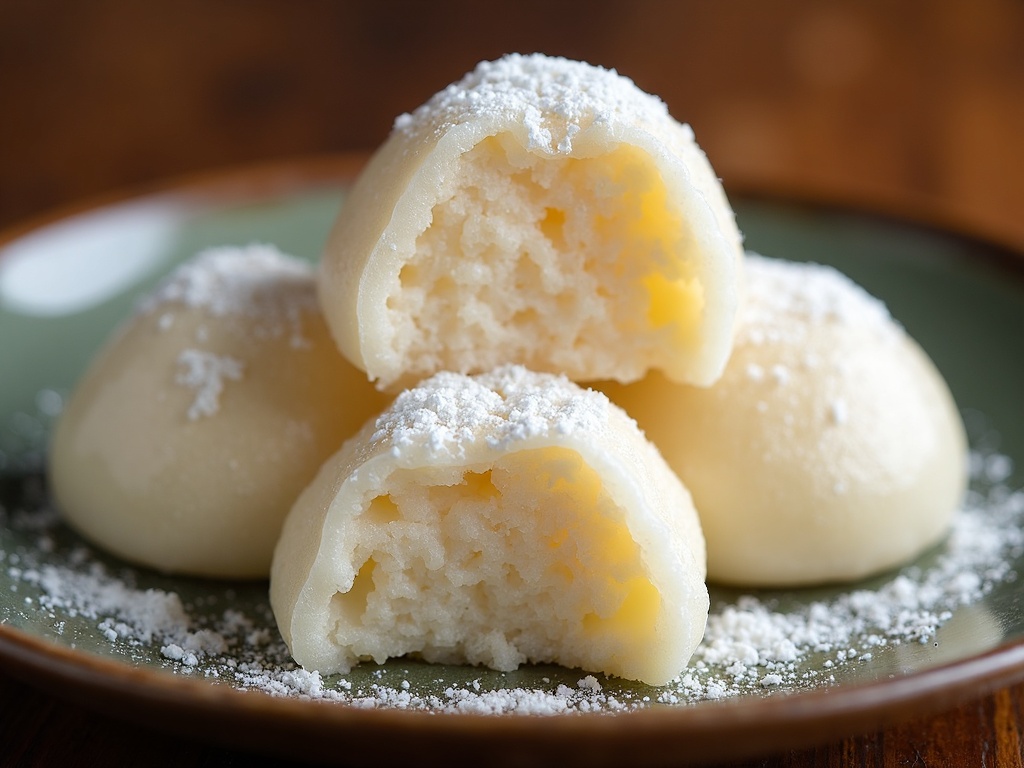
- Chewy texture that feels like a soft cloud in each bite and melts gently without an overwhelming sweetness so it pairs well with both tea and coffee
- Simple cooking method that uses steaming or the rice cooker for hands free cooking so you keep your stove free for other dishes on busy evenings
- Versatile main ingredient of glutinous rice flour which you can find in many grocery shops and keep on hand to whip up quick homemade treats any time
- Customizable recipe lets you fold in seasonal fruit jams red bean paste or even a swirl of melted chocolate for playful flavor hits that wow guests
- Inspired by Japanese cuisine tradition and friendly for first timers so you can impress friends and family with chewy rice cakes that feel special yet easy

Stock the shelf with these essentials
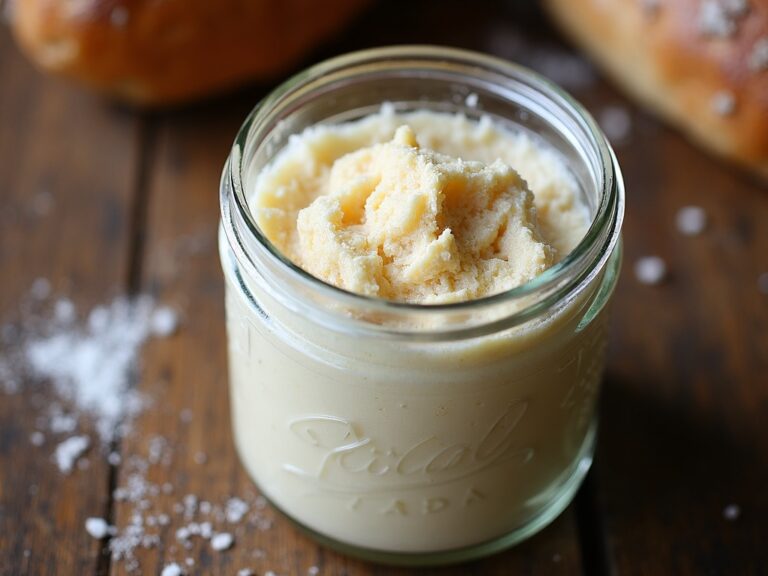
- Glutinous rice flour This fine powder is your main ingredient for a classic mochi texture Its sticky quality helps you form pillowy rice cakes that steam beautifully into a chewy treat without extra gums or additives
- Cornstarch or potato starch A light dusting on your work surface keeps stickiness at bay while you shape the dough Just sprinkle it under and over the dough and you will roll soft balls without frustration
- Granulated sugar A little sweetness goes a long way You add it to the flour and water mix before you steam so that each mochi bite has a mild sugar kiss that never overpowers
- Water or coconut milk Use plain water for a mellow rice flavor or swap half the water for coconut milk to infuse a gentle tropical note that plays well with fruit fillings
- Fruit jam or bean paste filling You can pick strawberry jam for a tangy twist or sweet red bean paste to stay true to tradition Each choice brings a bright or earthy tone to the rice cake
- Food coloring or matcha powder If you want a pop of color or a delicate green tea hint you add a pinch of matcha or a drop of food coloring before cooking for a festive vibe
- Nonstick parchment paper Lining your steamer or tray with parchment makes it easy to lift each mochi piece without tearing It also keeps cleanup minimal so you spend more time enjoying treats than washing pans
Seven quick moves to sweet mochi success
- Measure the rice flour and sugar I start by weighing the glutinous rice flour together with granulated sugar then I sift them into a heat safe bowl The sifted mixture ensures an even sweet base and prevents lumps that can ruin the silky mochi texture
- Add water or coconut milk I pour in water or a mix of water and coconut milk right after the dry mix Then I whisk briskly until the batter looks silky smooth This step is key to hydrate the flour evenly for uniform chewiness
- Stir with care I cover the bowl with plastic wrap or a lid and give the mix one last stir before steaming This seals in moisture and helps avoid dry edges so every part of your mochi cooks consistently
- Set up your steamer I line my steaming basket with nonstick parchment paper and bring water to a steady simmer The dry steam cooks the batter gently and keeps the rice cake from getting soggy or overly wet
- Steam the mochi dough I place the bowl into the steamer and let it cook for about twenty minutes The timed steam lets the flour particles swell just right to create that classic chewy bounce
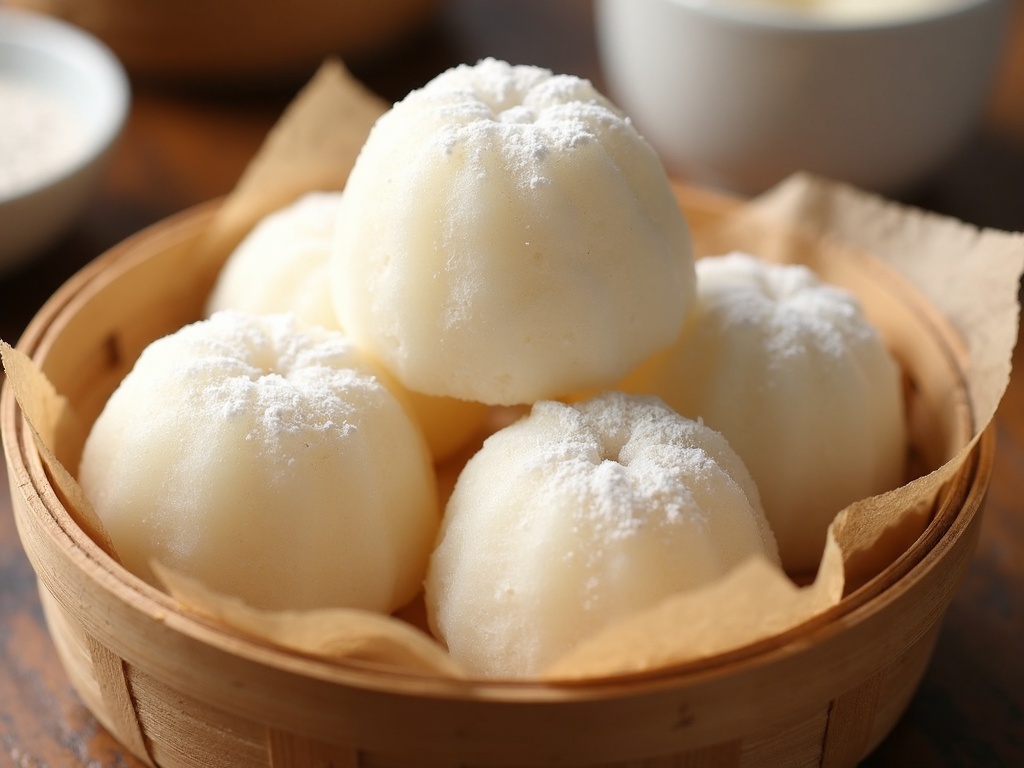
- Cool and dust generously After steaming I remove the dough and let it rest for a few minutes Before handling i dust my hands and surface with potato starch This stops sticky fingers and makes shaping easier
- Shape and fill your mochi I pinch off portions of the cooled dough then flatten and fill them with fruit jam or red bean paste before sealing in a ball Doing this while it is warm helps the dough stretch without tearing and keeps a smooth outside
Time saving tips for mochi success
- Whenever i am pressed for time i mix the flour sugar and water in a microwave safe bowl then i cook on high for thirty seconds at a time stirring after each burst until the batter turns glossy and slightly translucent This gives you speedy chewy mochi when you dont have time for a steamer setup
- I often prep my work station by placing parchment paper sheets and potato starch where i can reach with one hand Then i scoop and roll dough right onto that paper This lets me shape multiple pieces with no pause for extra dusting or cleanup
- If you have a small food processor you can blend glutinous rice flour sugar and water until smooth Then transfer to steamer or microwave This step cuts down on whisking time and avoids stray lumps in the mix
- To cool your mochi quickly i spread the steamed dough onto a shallow pan lined with parchment Then i set it near an open window or in front of a fan This drop in temperature takes just a few minutes and lets you shape treats sooner
- Use a spoon to transfer dough portions onto your dusted paper When you keep the spoon coated in starch it prevents clumping i can work faster without sticky fingers and skip washing tools between each piece
That grin when you first taste your own mochi
I can still picture my youngest child taking a cautious bite and almost losing balance from surprise at how chewy the mochi was That tiny grin that spread from ear to ear made me feel proud to share something homemade My kitchen felt full of warmth and laughter in that moment
We all dipped into that soft dough and found little surprises inside from sweet red bean paste to a dollop of berry jam Each first bite became a memory stamped with sticky fingers and wide eyes I hope you get that same joyful reaction when you bring these treats to any table
Cold and fresh serving ideas
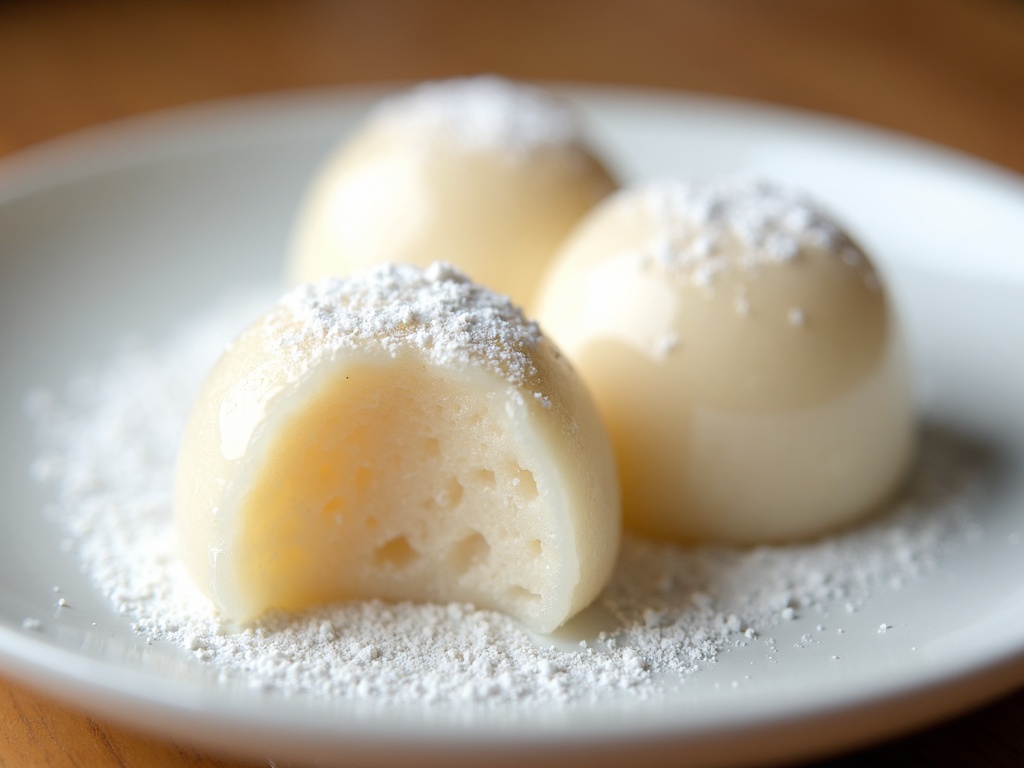
- Chill mochi pieces in the fridge for thirty minutes Then arrange them on a plate with fresh fruit slices like mango berries or kiwi for a light and colorful dessert everyone will love
- Dust cooled mochi with green tea powder or finely grated coconut for a new layer of flavor and texture Let your guests sprinkle their own for a fun interactive touch
- Slice mochi into bite size cubes then skewer with bamboo picks and serve with sweetened condensed milk on the side for dipping This makes a playful snack at casual gatherings
- Pair chilled mochi with a scoop of vanilla or matcha ice cream on a shallow bowl The contrast of temperatures and textures creates a balanced treat that feels both refreshing and indulgent
- Wrap mochi around small pieces of fresh fruit or cheese for a fusion twist The unexpected pairing brings a new savory element that fits right into modern tapas style bites
Storing and reheating your mochi stash
You can keep fresh mochi in an airtight container at room temperature for up to two days Cover the container with a layer of parchment paper to avoid sticking If you live in a warm climate store them in the fridge for an extra day but note they may firm up slightly
To reheat simply place mochi on a microwave safe plate You heat each piece in fifteen second intervals checking between blasts until they feel soft again You can also wrap each mochi in a damp paper towel and microwave gently This adds moisture back into the dough for a fresher feel
Wrap up and faqs
Bringing homemade mochi into your kitchen can feel like a fun project that ends in warm smiles and sticky fingers This no fuss rice cake recipe uses simple pantry staples a steaming step and minimal cleanup so you spend more time tasting than washing pans With these tips you will have chewy mochi ready for family gatherings quick after school snacks or festive desserts every time
- What if my mochi turns out too hard Let your steamed dough rest covered for a few extra minutes before you shape it This helps steam redistribute evenly and keeps the mochi soft If it still feels firm give it a brief microwave shot with a damp paper towel
- Can i freeze mochi for later Yes you can freeze each piece in a sealed container Use parchment paper between layers to avoid sticking Thaw them at room temperature for about thirty minutes before eating for best chewiness
- How do i prevent mochi from sticking Dust your hands surface and utensils generously with potato starch or cornstarch This barrier stops the dough from clinging and makes rolling and filling a breeze
- Can i make mochi without a steamer You can use the microwave method in short bursts or create a makeshift steamer by placing a metal rack in a pot with simmering water Just cover it tightly and steam as usual
- Is mochi gluten free Pure glutinous rice flour is naturally gluten free despite its name Always check labels to confirm no wheat or other grains were mixed in for full assurance
Mochi
Ingredients
Equipment
Method
- In a microwave-safe bowl, combine the glutinous rice flour and sugar. Mix well.
- Gradually add the water while stirring, ensuring a smooth, lump-free batter.
- Cover the bowl loosely with plastic wrap, leaving a small vent.
- Microwave on high for 2 minutes. Remove carefully (caution: hot steam) and stir.
- Re-cover and microwave again for 1 minute. Stir again, then microwave for a final 1 minute. The mixture should turn thick and slightly translucent.
- Let the mochi cool for about 5 minutes, until it’s comfortable to handle but still warm.
- Dust a clean surface or baking sheet with cornstarch to prevent sticking.
- With wet or oiled hands, transfer the mochi onto the dusted surface. Sprinkle more cornstarch on top.
- Pat and spread the mochi into a rectangle about 1 cm thick.
- Cut into 6 equal pieces using a knife dusted with cornstarch. Coat all sides of each piece with more cornstarch to prevent sticking.